FANUC A61L-0001-0116 LCD Upgrade Display - Complete Plasma (PDP) to LCD Upgrade Guide
Model: A61L-0001-0116-LCD | Compatibility: FANUC 0i, 16i, 18i, 21i Series | Reading time: 8 min
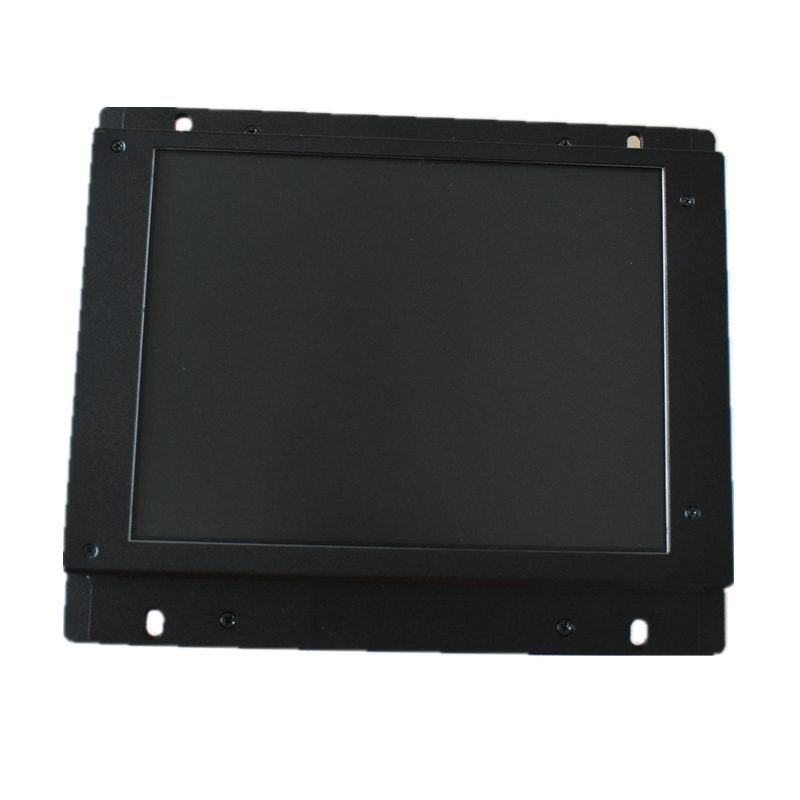
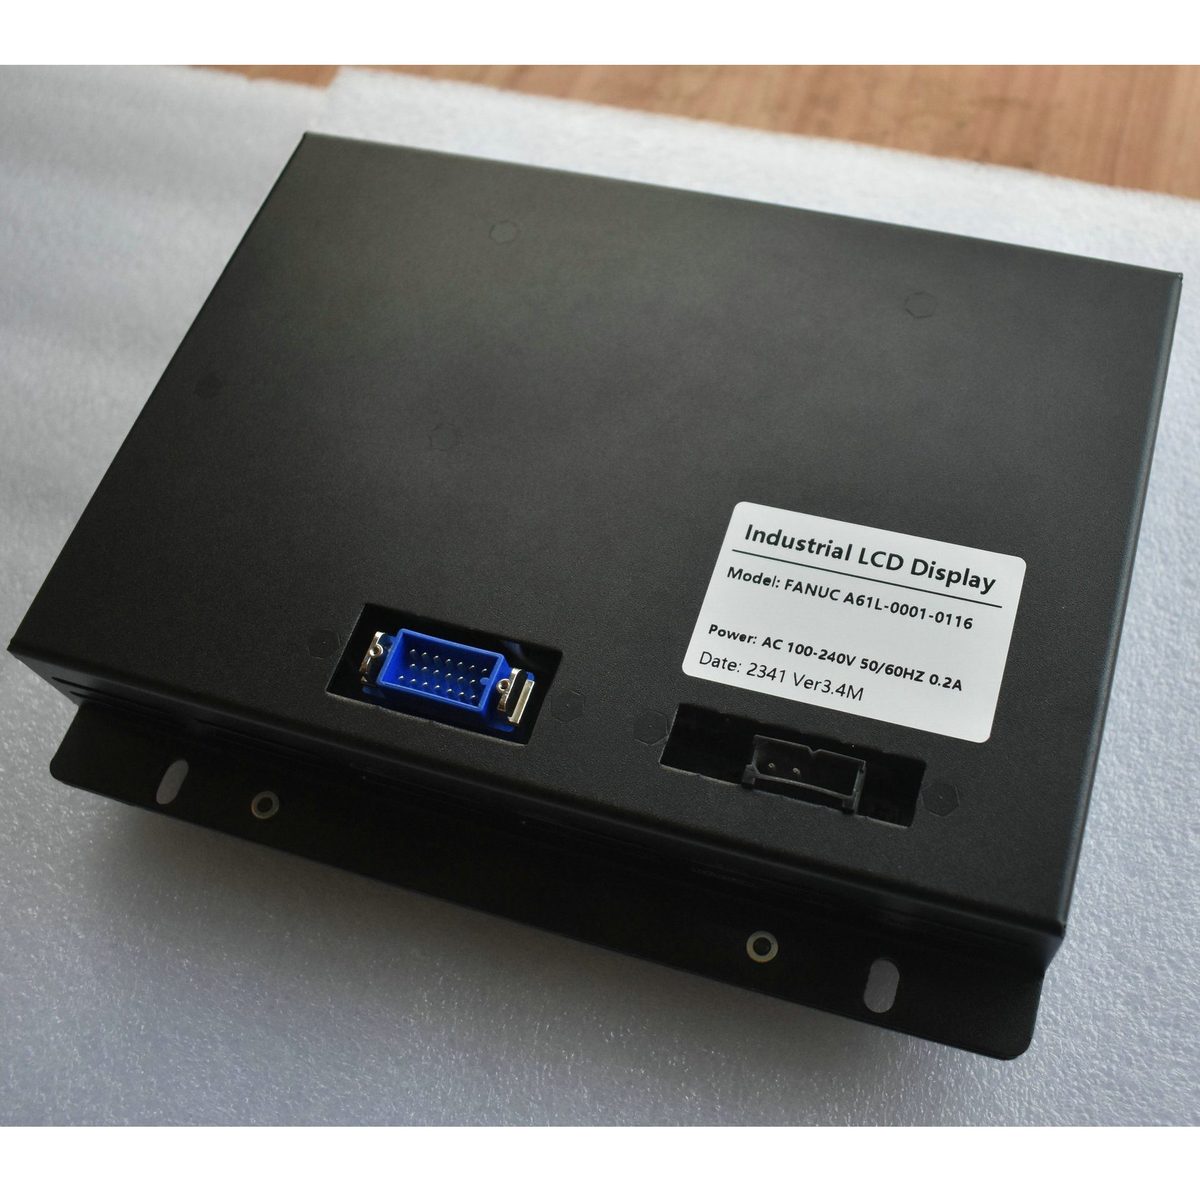
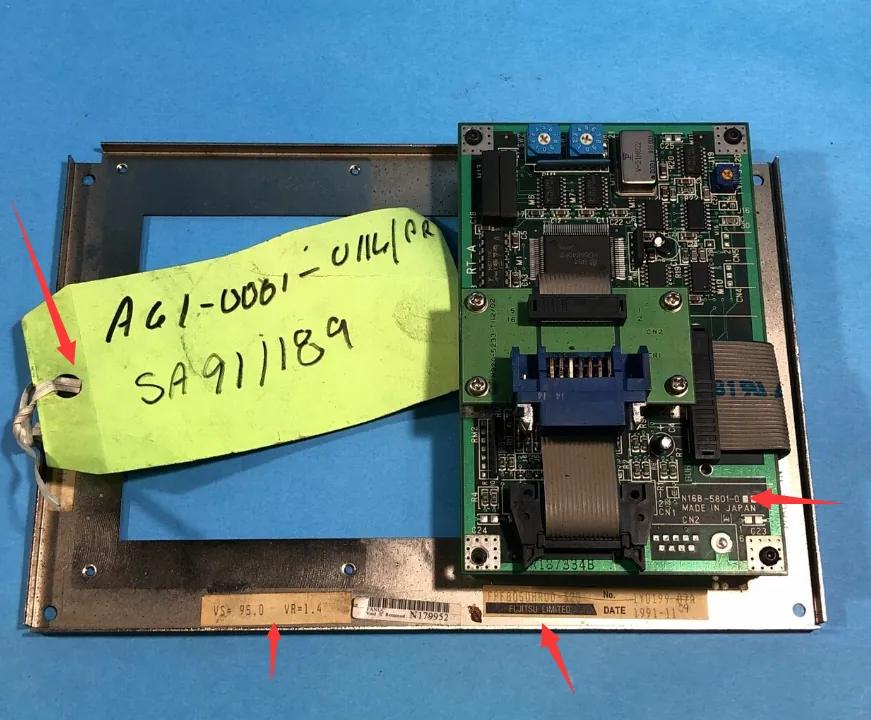
Overview
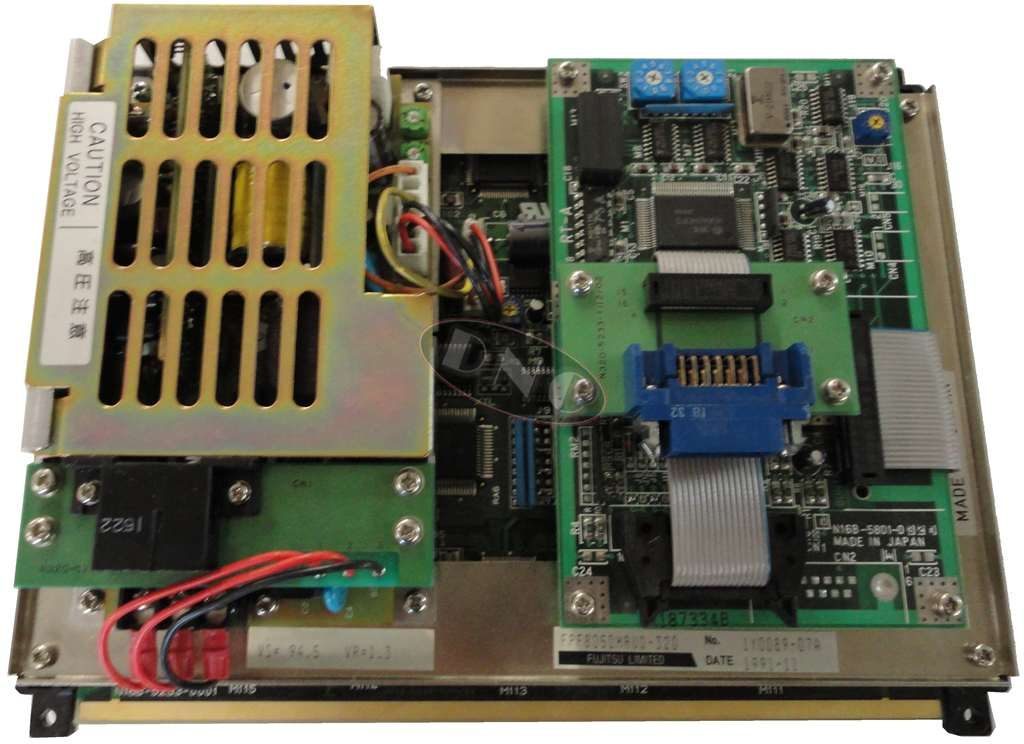
The FANUC A61L-0001-0116 is a 9-inch plasma (PDP) display module used on FANUC CNC controls including the 0i, 16i, 18i, and 21i series. Unlike the monochrome CRT units elsewhere in the FANUC A61L family, the A61L-0001-0116 uses a plasma (PDP) panel — it is not a cathode-ray tube.
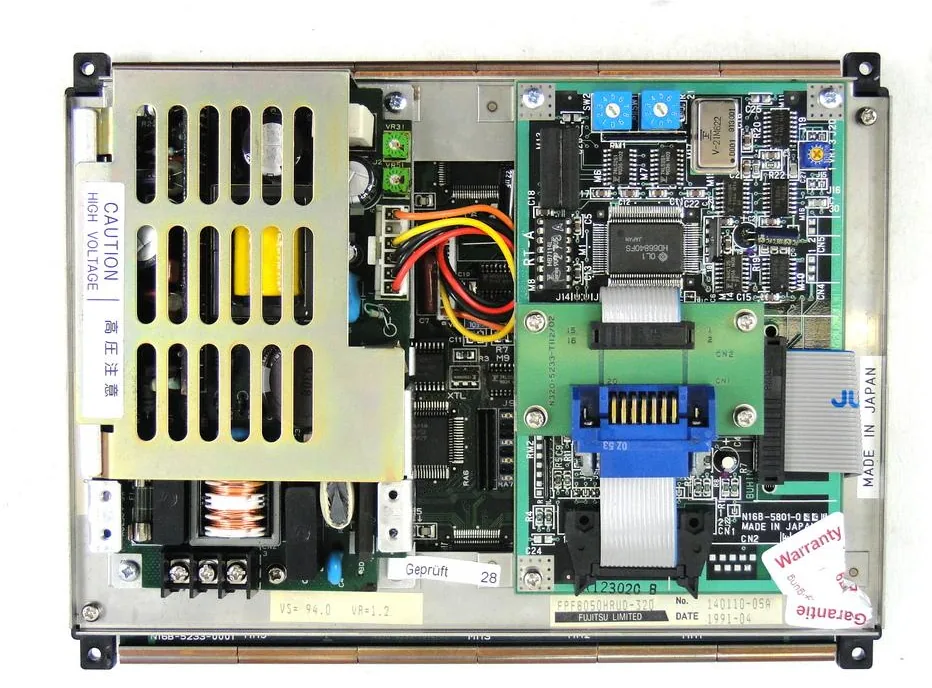
Original Plasma (PDP) Display
The original display in the A61L-0001-0116 is a 9-inch plasma (PDP) unit, commonly fitted with a Honda MR-20M 20-pin interface. Key characteristics of the original display include:
- Resolution: 640x400 or 640x480 pixels
- Brightness: Approximately 200 cd/m² (degrades over time)
- Lifespan: 15,000-20,000 hours typical
- Power: DC 24V, approximately 40-60W
- Signal: TTL-level RGB via Honda MR-20M 20-pin
Common Failure Modes
After 15-25 years of service, the A61L-0001-0116-LCD original display will exhibit one or more of these failure modes:
| Symptom | Root Cause | LCD Upgrade |
|---|---|---|
| Blank screen / no display | Power supply or driver board failure (most common) | Permanent fix |
| Dim / unreadable display | Panel and driver degradation after long service | Permanent fix |
| Flickering / rolling image | Capacitor failure in sync circuits | Permanent fix |
| No power / dead unit | Internal power supply failure | Permanent fix |
LCD Replacement Solution
Our LCD replacement for the A61L-0001-0116 delivers 800×600 resolution (vs the original display's 640×480), 350-450 cd/m² brightness, and 50,000+ hour lifespan — more than triple the life of the original panel. The module is pin-compatible with the original Honda MR-20M 20-pin connector, requiring zero modifications to the CNC control cabinet. Installation takes 15-30 minutes.
Specification Comparison
| Spec | Original Display | Kongto LCD |
|---|---|---|
| Display Type | Plasma (PDP) | TFT-LCD Industrial |
| Resolution | 640x400 | 800x600 |
| Brightness | ~200 cd/m² | 350-450 cd/m² |
| Lifespan | 15,000 hrs | 50,000+ hrs |
| Power Consumption | 40-60W | ~12W |
| Installation | N/A | 15-30 min, plug-and-play |
| Warranty | Obsolete | 2-Year Warranty |
Installation Guide
- Power off the CNC machine and lockout/tagout per safety procedures
- Remove the original display housing: Unscrew the 4 mounting screws, disconnect signal and power cables
- Mount LCD module: Position the LCD module in the same opening, secure with original screws
- Connect cables: Plug the original signal cable into the LCD module port, reconnect DC 24V power
- Power on and test: Restore power. The LCD will display automatically. Adjust brightness/contrast using OSD buttons if needed
Note: No CNC parameter changes, no wiring modifications, no special tools required. Total installation time: 15-30 minutes.
Ordering Information
Price: $350 USD | Stock: In Stock | Warranty: 2 Years
Contact: [email protected] | +86-13686889647 | Request Quote
Frequently Asked Questions
Is the FANUC A61L-0001-0116 a CRT display?
No. The A61L-0001-0116 is a 9-inch plasma (PDP) display, not a cathode-ray tube. Kongto replaces it with an 8-inch industrial TFT-LCD module.
Which FANUC controls use the A61L-0001-0116?
FANUC 0i, 16i, 18i and 21i series controls.
What connector does the A61L-0001-0116 use?
A Honda MR-20M 20-pin interface. The LCD replacement module is pin-compatible with it, so no cabinet modification is required.
What are the LCD replacement specifications?
800×600 resolution versus 640×480 on the original panel, 350-450 cd/m² brightness, and 50,000+ hours lifespan. Installation takes 15-30 minutes with no parameter changes.
How much does the A61L-0001-0116 LCD upgrade cost?
$350 USD outright, with a 2-year warranty. Contact [email protected] for a quotation.