FANUC A61L-0001-0093 LCD Replacement: CRT-to-LCD Upgrade Guide
Summary: The FANUC A61L-0001-0093 is a 9-inch amber CRT that dims, flickers, and eventually fails. This guide shows you how to confirm the tube is the fault, discharge the high-voltage anode safely, and drop in a KONGTO A61L-0001-0093 LCD V3.4 in about 15 minutes, plug-and-play, with no CNC parameter change.
You walk onto the floor at 6 a.m. The FANUC 0 on the turning center is still warm from yesterday's run, but the screen is the problem again: a dim amber glow you can barely read, even with a flashlight jammed against the bezel to make out the tool offsets. A fresh OEM A61L-0001-0093 CRT can balloon a full control swap to $155,000–$155,000 once you add labor and downtime — or you can drop in a KONGTO A61L-0001-0093 LCD V3.4 for roughly $155 and about 15 minutes of bench time, no parameters touched, no control swapped.
Here's the field manual for the FANUC A61L-0001-0093 LCD replacement: confirm the tube is actually failing (not a PSU or mainboard fault), run the high-voltage safety steps you must never skip, follow the exact five-step teardown, and understand the signal primer that makes it plug-and-play. By the end you'll know whether to repair, replace, or swap the control — and how to do the swap yourself.
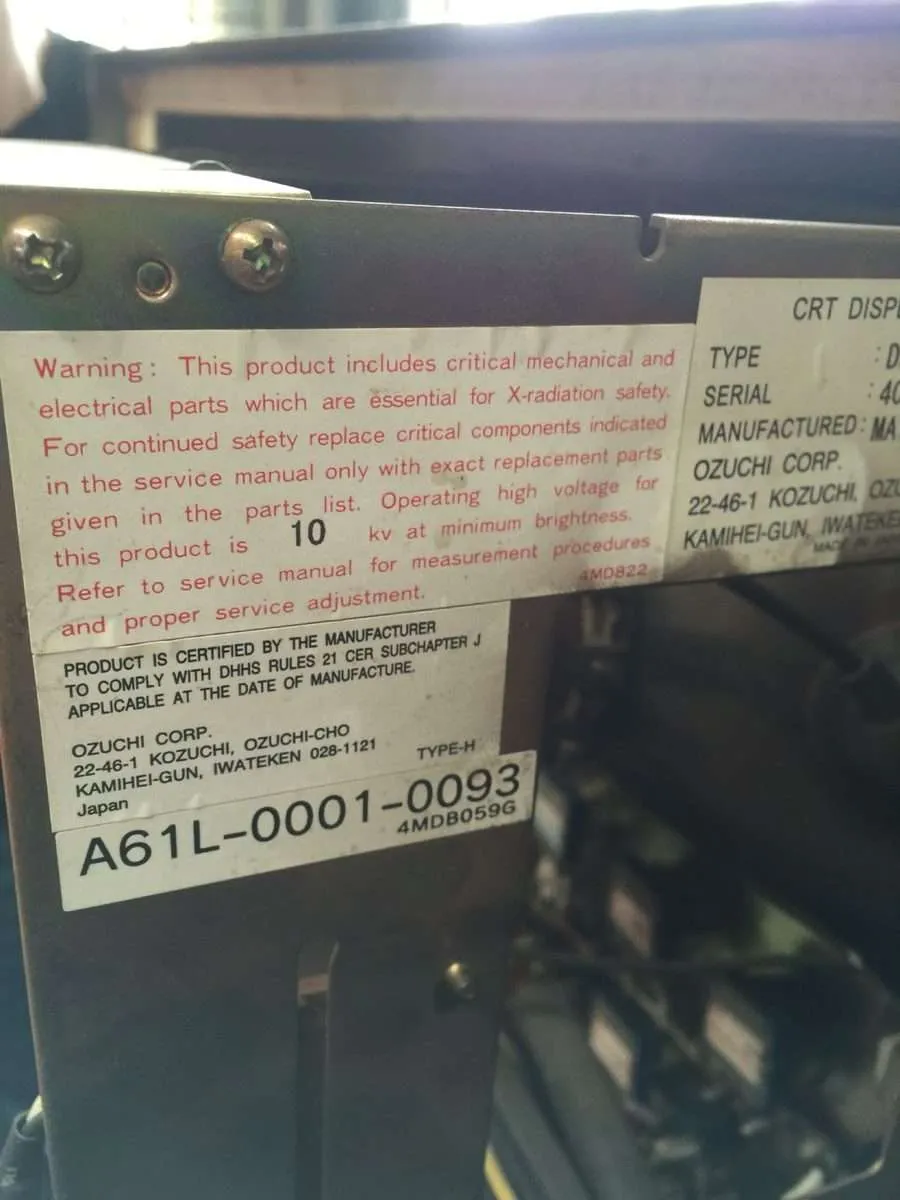
Figure: Original FANUC A61L-0001-0093 9-inch CRT with model label | Source: Kongto Technology
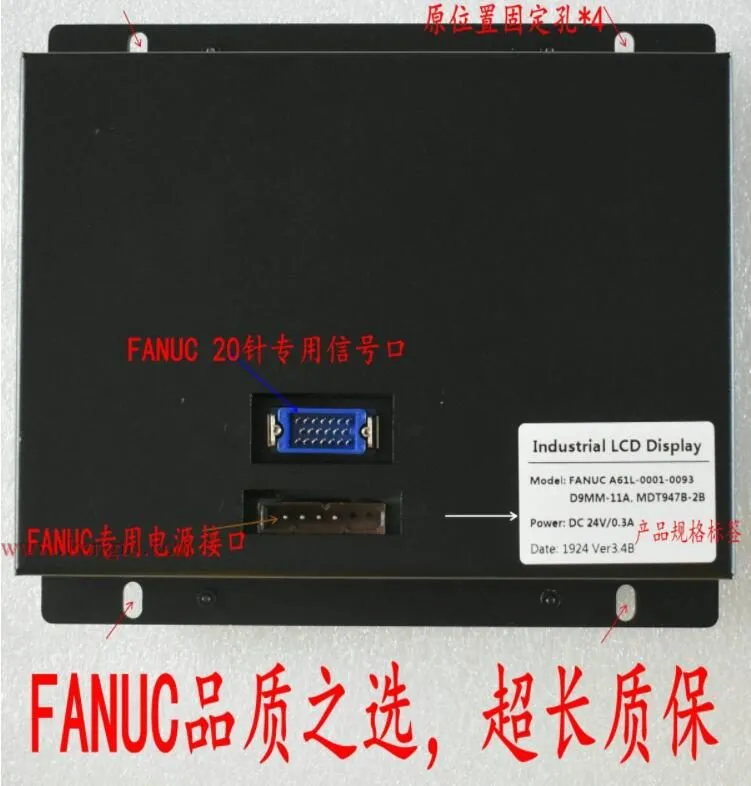
Figure: FANUC A61L-0001-0093 CRT display — front view with amber screen and control bezel | Source: Kongto Technology
Key Takeaways
- The A61L-0001-0093 is a 9-inch amber monochrome CRT using a HONDA 20-pin connector at DC 24V; OEM equivalents include KF-M7099H, MDT947B-2B, D9MM-11A and TX-901AB.
- Most "dead screen" calls are the CRT itself — brightness falls ~40% over a 15,000-hour life, and tubes past 12 years are typically below 35% brightness.
- The CRT anode cap holds 15–28 kV even after power-off; lockout/tagout and a proper discharge are mandatory before you touch the tube.
- The KONGTO A61L-0001-0093 LCD V3.4 is a direct-fit, 100% plug-and-play swap: same cutout, same screws, same HONDA 20-pin + DC 24V (12–24V input), no CNC parameter change.
- Over five years the LCD (~) beats repeated CRT repairs ($155–$155,990 each) and eliminates the high-voltage hazard entirely.
What Is the FANUC A61L-0001-0093?
The A61L-0001-0093 is FANUC's 9-inch amber monochrome CRT for 0-series and 0i-series controls. It uses P39 long-persistence phosphor and a HONDA 20-pin interface at DC 24V. If your FANUC 0, 0-Mate, or 0i shows a 9-inch amber screen, this is the part.
Core specifications
| Attribute | Value |
|---|---|
| Display type | 9-inch monochrome (amber) CRT |
| Phosphor | P39 long-persistence (amber) |
| Connector | HONDA 20-pin (HRS blue) |
| Power input | DC 12–24V (24V nominal; plan ~1.5 A margin for inrush) |
| Signal | TTL/RGB (CGA) monochrome video |
| Native resolution | 640×400 (accepts up to 640×480 via RGB) |
| Line frequency | ~15.7 kHz |
| Frame rate | 50–60 Hz |
| CRT tube weight | ~2–3 kg (handle with two hands) |
Note: vendor data disagrees on current draw — some rate ~0.3 A while others list a typical ~1.5 A on the DC 24V line. The KONGTO LCD accepts a 12–24V input and runs from the same 24V rail your CRT used. For PSU margin, plan for at least 1.5 A.
OEM-equivalent & cross-compatible codes
The A61L-0001-0093 is cross-referenced under several OEM and third-party codes. Any of these on the tube label or a quote is the same 9-inch amber unit, and each points to the same KF-M7099H replacement path:
- KF-M7099H — the most common OEM-equivalent code
- MDT947B-2B
- D9MM-11A
- TX-901AB
And the A61L family shares the same signal architecture, so these sibling part numbers are drop-in compatible at the CRT level:
- A61L-0001-0090 — see the A61L-0001-0090 LCD upgrade
- A61L-0001-0086 — see the A61L-0001-0086 LCD upgrade
- A61L-0001-0074 — see the A61L-0001-0074 LCD upgrade
(For completeness, the A61L-0001-0095 is a 9-inch CGA/EGA variant and the A61L-0001-0094 is a 14-inch unit — different signal family, not a direct swap. The fanuc 9 inch crt to lcd upgrade we cover here is specific to the 9-inch TTL/RGB units.)
Do You Need a FANUC A61L-0001-0093 LCD Replacement? (Diagnose First)
Before you spend a dollar on a FANUC A61L-0001-0093 LCD replacement, confirm the screen is the fault. Many "dead display" calls turn out to be a loose cable, a blown fuse, or a mainboard issue — none fixed by a new CRT or LCD. Every fanuc 0 crt display repair and fanuc 0 crt no display troubleshoot job comes down to one rule: isolate the display before you condemn it.
Common symptoms & what they mean
| Symptom | Likely cause | CRT or deeper? |
|---|---|---|
| Dim or no image | Aged phosphor / weak HV supply | Usually the CRT |
| Flicker | Failing flyback (the HV transformer) or deflection | Usually the CRT |
| Vertical/horizontal roll | Sync loss (HSYNC/VSYNC) | CRT or cable |
| Image collapse (to a line/dot) | Deflection coil / yoke fault | CRT |
| Burn-in / ghosting | Permanent phosphor damage | CRT (irreversible) |
| One side dark | HV or convergence fault | CRT |
The tell-tale sign of an aged tube is gradual dimming. FANUC 9-inch CRTs lose roughly 40% of their brightness over their service life. The aging curve is brutal: 0–5 years you retain 100–85% brightness; 5–8 years drops to 85–60%; 8–12 years to 60–35%; beyond 12 years you're below 35%, and that's when the flashlight trick stops working.
A quick CRT-fault vs CNC/mainboard-fault decision tree
Work top-down before you condemn the display:
- Does the control power on? If not, check the AC 220V supply, the fuse, and the PSU — a dead PSU means no clean 24V reaches the display.
- Is the display's indicator light on? If the panel LED is dark, reseat the HONDA 20-pin and DC 24V leads; a half-seated connector mimics a dead tube.
- Is brightness present? Confirm the 6.3 V heater and 5 V logic rails. Good rails but a dim/dark screen means the tube is the fault — adjust or replace.
- Is the image normal? Brightness but a garbled or missing picture points to CNC/software, not the display.
- Is sync stable? Vertical/horizontal roll means HSYNC/VSYNC trouble; if cables check out and sync won't lock, replace the display.
Only after steps 1–5 point at the tube should you commit to a display replacement.
When (temporary) repair beats replacement
Not every fault warrants a swap. If the tube is young (under ~5 years, still bright) and you're seeing sync-roll or flicker from a tired flyback, a component-level CRT repair can buy years. But repeat repairs run –,990 each — a recurring cost on a 15,000-hour part. Once a tube is burned-in or past 8–12 years, replacement (or the LCD upgrade) is the cheaper, permanent answer.
Field note: A job-shop in Ohio lost a full night shift in 2023 because a dimming A61L-0001-0093 made the operator misread a Z-offset by 0.5 mm — scrapping a $155,000 aluminum block. They'd been "managing" the dim screen with a flashlight for six months. A $155 LCD swap the next morning ended the problem permanently, and they haven't bought a CRT repair since.
Still seeing the right symptoms? The KONGTO A61L-0001-0093 LCD V3.4 is a direct-fit upgrade that eliminates the dimming problem at the source — check the full compatibility matrix to confirm your control, or email [email protected] for a quote.
⚠️ Safety First — High-Voltage Hazards
This is the section most guides skip and the one that matters most. A CRT is not a harmless panel — it's a small television tube with a capacitor on the anode that retains 15–28 kV after you've switched the machine off. That charge can kill. Treat every CRT as live until proven discharged. (Our lockout procedure follows the OSHA Control of Hazardous Energy standard, 29 CFR 1910.147.)
The 15–28 kV anode capacitor & why LOTO is mandatory
The anode cap — the suction-cup connector on the tube's side — sits at up to 28 kV and holds a dangerous residual charge long after power-off. LOTO isn't paperwork here: it's the only thing between you and a lethal shock with your hands inside the bezel. Isolate the AC at the source, tag it, and keep it isolated until the swap is done.
Safe discharge & lockout procedure before touching the tube
Safely discharging the CRT anode takes six steps. Follow this order, every time:
- Power down the CNC and disconnect the AC supply at the breaker or isolation switch.
- Lock out and tag out the disconnect. One person, one lock, one key.
- Wait at least 5–10 minutes for the residual charge to bleed (longer is safer).
- Discharge the anode with a proper insulated high-voltage probe/resistor lead: clip the grounded lead to the CRT chassis ground, then carefully slide the probe under the anode cap to short it to ground. You should hear/see a small discharge. Repeat to confirm.
- Verify with a multimeter that the anode and any exposed HV points read ~0 V before you touch anything.
- Only then remove the 4 mounting screws and disconnect the HONDA 20-pin and DC 24V leads.
If you are not trained in HV discharge, stop and bring in a qualified technician. The ~ LCD upgrade removes this hazard entirely — the KONGTO unit runs on DC 12–24V from the same 24V rail, with no high-voltage section at all.
Tools & Parts You'll Need
Keep this kit on the bench before you start:
- #2 Phillips screwdriver — for the four mounting screws
- Multimeter — to verify 24V and confirm HV discharge
- KONGTO A61L-0001-0093 LCD V3.4 — the direct-fit replacement:
- HONDA 20-pin + DC 24V (12–24V input)
- 800×600 upscaled TFT with OSD
- built on the KTV800M 9-inch panel at up to 450 cd/m²
- rated −20 to 70 °C
- ESD strap — anti-static protection for the mainboard-side connector
- Insulated gloves — high-voltage caution during the discharge step
- A helper — the old CRT weighs ~2–3 kg; two hands (and a second person) make removal safer and protect the bezel. The new LCD is far lighter at ~1.5 kg.
FANUC A61L-0001-0093 LCD Replacement: Step-by-Step Teardown
The FANUC A61L-0001-0093 LCD replacement takes five steps and about 15 minutes. This is the core teardown, ordered step by step. Hands-on time is about 15–20 minutes once the tube is safe to handle (up to 30 with discharge and verification). Difficulty: intermediate — hand tools and LOTO, no electronics background needed.
Step 1 — Power down & lockout the CNC
Switch off the controller, pull the AC disconnect, and apply your LOTO lock and tag. Wait 5–10 minutes for the HV capacitor to bleed, then discharge the anode per the safety procedure and verify ~0 V with your multimeter. Never skip this step.
Step 2 — Remove the old CRT
With the tube confirmed safe, unscrew the four mounting screws holding the CRT bezel. The tube weighs ~2–3 kg — support it with two hands and a helper as you ease it forward. Disconnect the HONDA 20-pin and the DC 24V lead, then set the old tube aside; CRT glass is fragile.
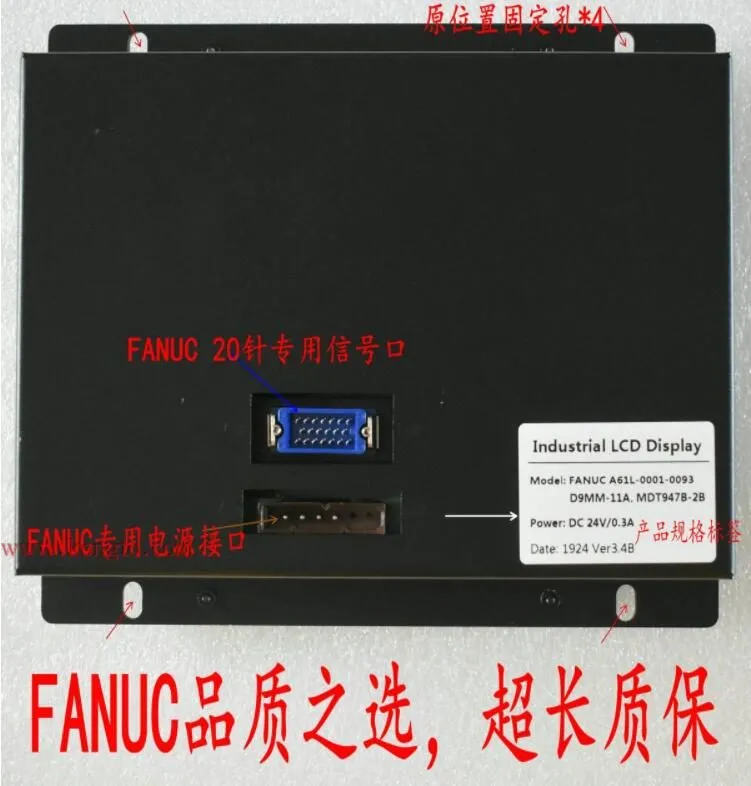
Figure: Disconnected old CRT — HONDA 20-pin and DC 24V leads | Source: Kongto Technology
Step 3 — Install the KONGTO LCD
Place the KONGTO A61L-0001-0093 LCD V3.4 into the same cutout. The footprint is identical — same opening, same four mounting points, no modification or brackets needed — so secure it with the provided screws. That's the mechanical half of a clean a61l-0001-0093 lcd upgrade.
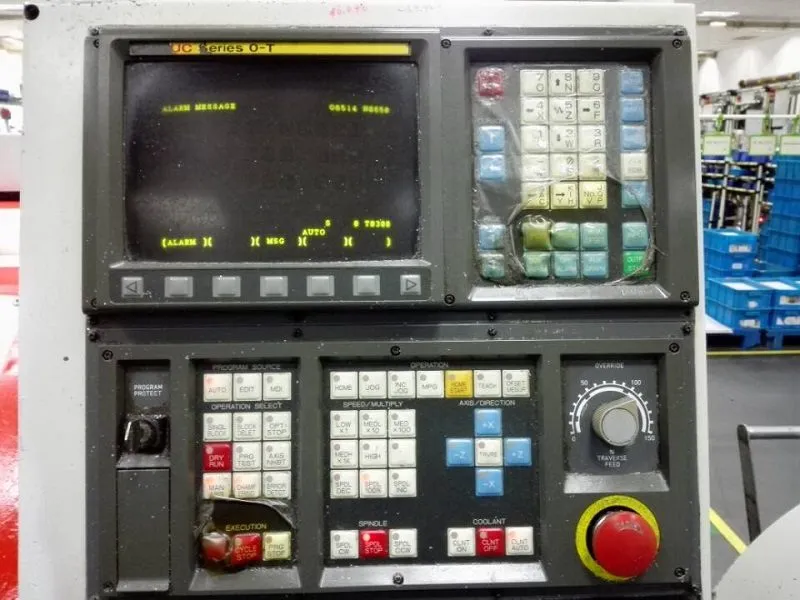
Figure: KONGTO A61L-0001-0093 LCD V3.4 — front view of the drop-in replacement module | Source: Kongto Technology
Step 4 — Reconnect HONDA 20-pin + DC 24V
Plug the HONDA 20-pin into the LCD and connect the DC 24V lead (the unit accepts 12–24V, powered from the same rail your CRT used). The connector is keyed — one orientation only. If it resists, don't force it; check the keyway. A reversed or half-seated connector is the top cause of a "new display doesn't work" callback.
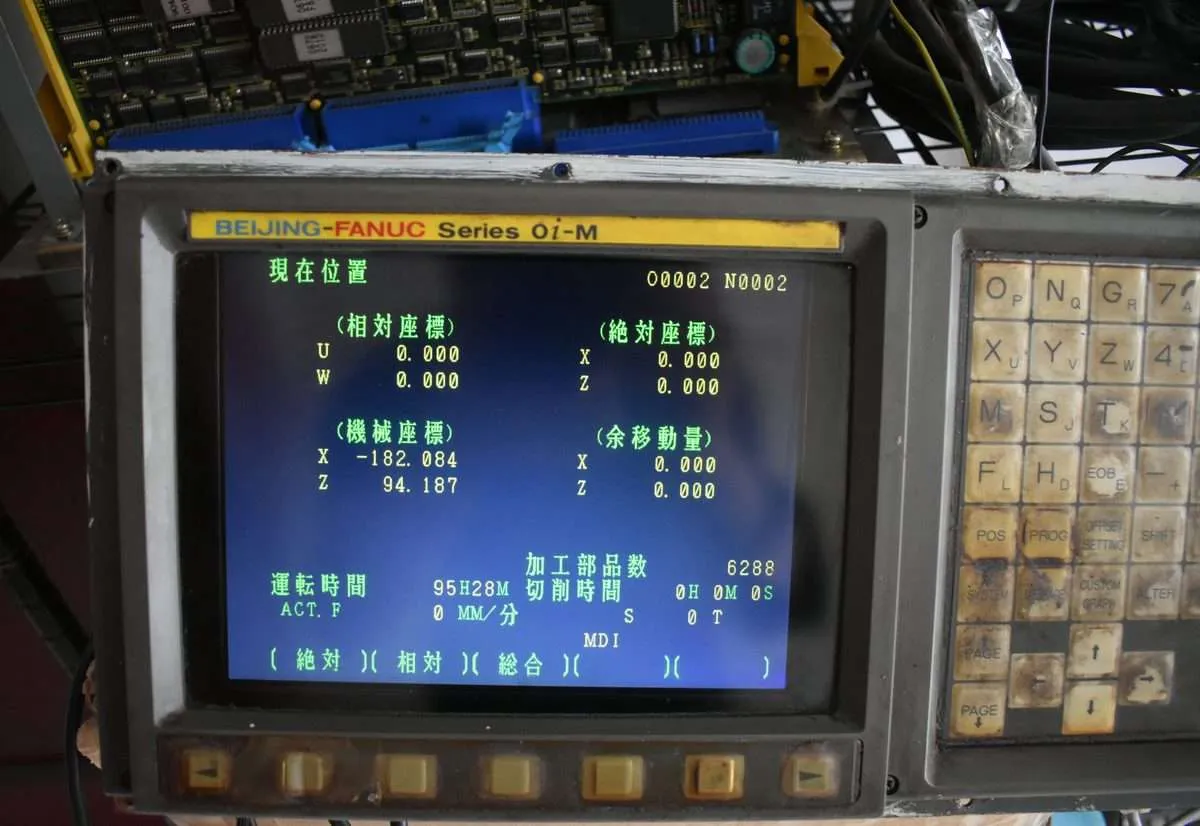
Figure: Wired-up KONGTO LCD — HONDA 20-pin + DC 24V reconnected | Source: Kongto Technology
Step 5 — Power on & OSD adjust
Remove your LOTO, restore CNC power, and confirm the LCD lights and shows the control screen. Use the OSD to fine-tune brightness, contrast, and position if needed. No CNC parameter change is required — the control never knew the tube changed.
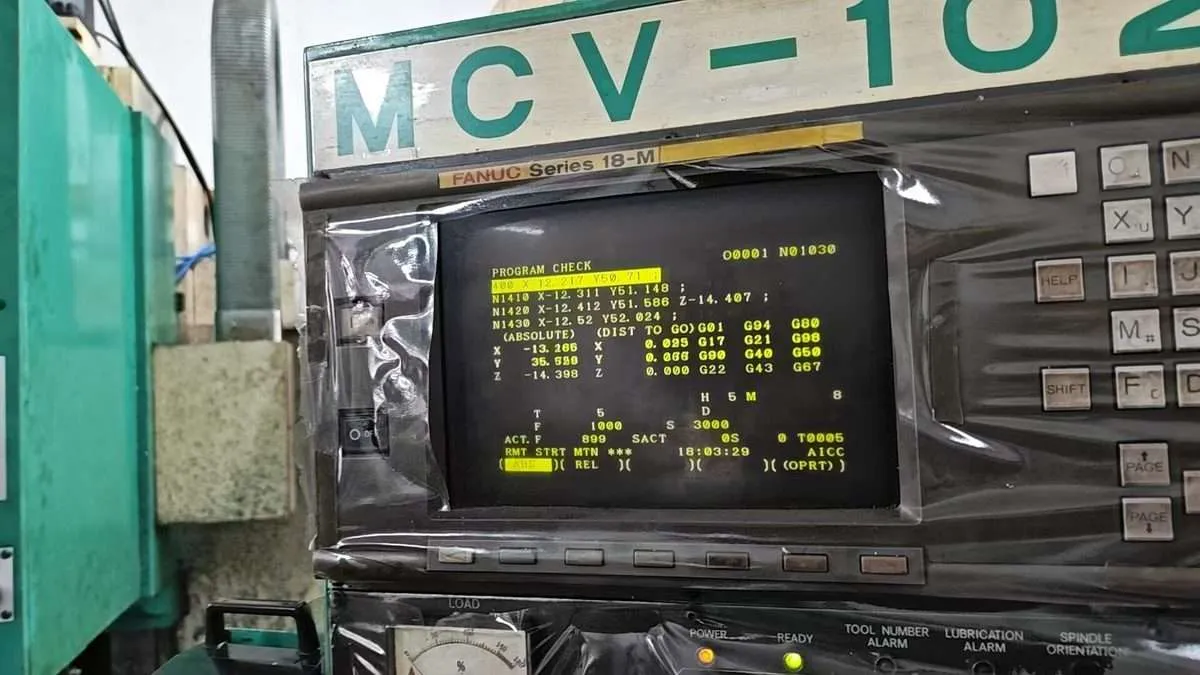
Figure: KONGTO A61L-0001-0093 LCD V3.4 installed and running | Source: Kongto Technology
Time & difficulty
≈15 minutes of hands-on work (intermediate). Add discharge and verification and budget up to 30 minutes end to end. Most techs swap it on the floor without pulling the control.
Done in one break? The KONGTO A61L-0001-0093 LCD V3.4 is in stock and ships as a single plug-and-play unit. Email [email protected] to order, and confirm your control is covered in the full compatibility matrix.
Signal & Frequency Primer — Why It's Plug-and-Play
Engineers reasonably worry that an LCD won't "speak" the old CRT's video language. With this unit, it does — here's the technical reason.
The HONDA 20-pin interface
The HONDA 20-pin connector (HRS blue shell) carries everything the display needs: GND, R, G, B, INTENSITY, HSYNC, VSYNC, and DC 24V. There's no separate video board, no external scaler, no LVDS bridge to wire. The KONGTO LCD accepts that exact pinout on the same connector.
TTL/RGB (CGA) monochrome video, 640×480, ~15.7 kHz
FANUC 9-inch CRTs in the A61L-0001-009X family use TTL/RGB monochrome signaling at a line frequency of ~15.7 kHz (TTL spans 15.7–24 kHz, RGB 15.7–31.5 kHz) and a frame rate of 50–60 Hz. The native CRT resolution is 640×400, accepting up to 640×480 over RGB. The KONGTO panel internally converts that old signal path (TTL/RGB → VGA → TFT-LCD) and upscales to 800×600 on a modern TFT. The control side sees no difference.
(For reference, 14-inch FANUC variants use CGA/EGA rather than this TTL/RGB scheme — a different signal family and not compatible with this 9-inch swap.)
Why no adapter or CNC parameter change is needed
Because the conversion happens entirely inside the KONGTO unit, the CNC mainboard still outputs the same HONDA 20-pin TTL/RGB it always did — no parameter to edit, no video mode to select, no "new monitor" handshake. Your machine parameters, offsets, and programs stay exactly as they are. That's the whole point of a drop-in LCD.
CRT vs LCD — The Numbers
As our FANUC CRT-to-LCD upgrade guide explains, here's the side-by-side that justifies the upgrade. All figures are from the verified dossier (A61L PDF §4.1).
| Parameter | Original CRT | KONGTO LCD |
|---|---|---|
| Brightness | 200 cd/m² | 350–450 cd/m² |
| Refresh | 50–60 Hz | 60 Hz |
| Resolution | 640×400 (native) | 800×600 (upscaled) |
| Power draw | 25–30 W | 8–12 W |
| Lifespan | 15,000 h | 50,000 h |
| High voltage | Up to 28 kV (anode) | None (DC 12–24V only) |
| Input | DC 24V | DC 12–24V |
The LCD is 75–125% brighter, draws less than half the power, and lasts over three times longer — while removing the high-voltage hazard completely. For a machine running two shifts, the 50,000-hour LCD panel effectively outlives the rest of the control.
Compatibility Matrix
Supported FANUC controls
The A61L-0001-0093 (and its KONGTO LCD V3.4 replacement) serve these controls — full cross-reference at CNC Electronics:
- FANUC 0 series: 0 / 0-Mate / 0-TMate
- FANUC 0i series: 0i-A / 0i-B / 0i-C / 0i-D
- FANUC OM family: OM / OM-D / OM-C
- FANUC 16i / 18i / 21i
If your control is on this list and it currently runs a 9-inch amber CRT, the KONGTO LCD is a confirmed fit. See the full compatibility matrix for the complete model list.
Cross-compatible display codes
Shared signal architecture across the A61L-0001-009X family makes these original CRT part numbers compatible at the display level:
- A61L-0001-0090 — see the A61L-0001-0090 LCD upgrade
- A61L-0001-0086 — see the A61L-0001-0086 LCD upgrade
- A61L-0001-0074 — see the A61L-0001-0074 LCD upgrade
And the OEM-equivalent designations KF-M7099H, MDT947B-2B, D9MM-11A, and TX-901AB all map to the same unit.
Is the LCD Upgrade Worth It? (5-Year Cost Analysis)
Let's put real numbers on it. A single KONGTO A61L-0001-0093 LCD V3.4 runs about $155 (US $155 single-unit retail). Compare that to the alternatives:
- Repeated CRT repairs: each field repair typically costs –,990. Over five years on an aging tube, even two repairs land you at ,990–,980 — and the tube is still a 15,000-hour part heading for failure. For the full breakdown, see our CRT repair vs LCD upgrade cost comparison.
- OEM control swap: replacing the entire control because of a dead screen commonly runs ,000–,000 once you add the unit, labor, and downtime. Swapping a display to avoid that is an easy call.
Even at list price, the LCD pays for itself the moment you avoid the first CRT repair, and it eliminates recurring dimming, burn-in, and the high-voltage hazard for the rest of the machine's life. For any shop running a 0/0i/OM control with a fading 9-inch amber screen, the a61l-0001-0093 lcd upgrade is the lowest-risk, highest-return fix available.
FAQ
What connector does the A61L-0001-0093 use?
A HONDA 20-pin connector (HRS blue shell) carrying GND, R, G, B, INTENSITY, HSYNC, VSYNC, and DC 24V. The KONGTO LCD uses the identical connector.
What is the OEM equivalent of the A61L-0001-0093?
The most common OEM-equivalent code is KF-M7099H. You'll also see MDT947B-2B, D9MM-11A, and TX-901AB used for the same 9-inch amber unit.
Which FANUC controls is it compatible with?
FANUC 0 / 0-Mate / 0-TMate, 0i-A/B/C/D, OM / OM-D / OM-C, and 16i / 18i / 21i. See the full compatibility matrix.
Can I keep the original CRT instead of upgrading?
Yes — a direct CRT replacement is possible, but the tube is a 15,000-hour part that dims ~40% over its life and carries up to 28 kV. The LCD upgrade is brighter, longer-lived, and safer.
How much brighter is the LCD versus the CRT?
The original CRT is ~200 cd/m²; the KONGTO LCD is 350–450 cd/m² — roughly 75–125% brighter, readable without a flashlight.
Is there a warranty on the KONGTO LCD?
Contact [email protected] for current warranty terms on the A61L-0001-0093 LCD V3.4.
How long does the installation take?
About 15 minutes of hands-on work (up to 30 with discharge and verification). No control removal required for most machines.
Is it safe to do myself?
The swap itself is intermediate-level, but the CRT discharge step involves 15–28 kV. If you're not trained in HV LOTO/discharge, have a qualified tech do the teardown — or have them confirm the old tube is safe before you handle it.
Do I need to change any CNC parameters?
No. The conversion happens inside the LCD; the control outputs the same HONDA 20-pin TTL/RGB it always did. No parameters, offsets, or programs change.
Will the LCD fix burn-in / ghosting on my screen?
Burn-in is permanent phosphor damage on a CRT and can't be reversed — but replacing the CRT with the KONGTO LCD eliminates the burn-in entirely, since the new panel has no phosphor.
Conclusion — Upgrade With Confidence
The FANUC A61L-0001-0093 LCD replacement is one of the best-ROI fixes in CNC maintenance: a ~$155, 15-minute swap that ends dim-screen frustration, removes a lethal high-voltage hazard, and outlasts the control it serves. Diagnose first, respect the anode cap, and drop in the KONGTO A61L-0001-0093 LCD V3.4 with the same cutout and connectors your CRT used.
Ready to upgrade? Confirm your control in the full compatibility matrix, then get a quote or email [email protected] for lead time. Browse our CNC display upgrade case studies to see the swap on real machines. Your operators will thank you the next time they read an offset without a flashlight.