FANUC A61L-0001-0090 9-inch Monochrome CRT to LCD Retrofit Guide
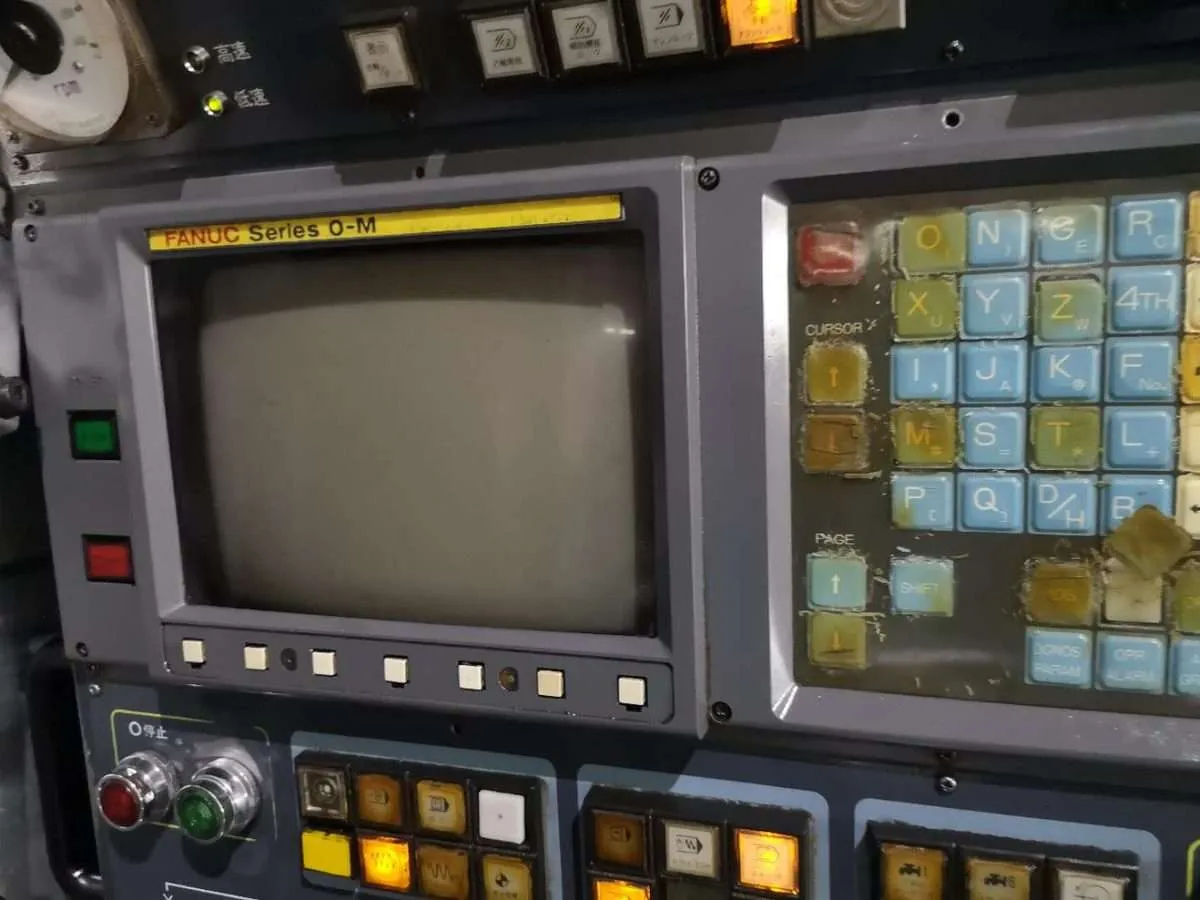
Original CRT Display | Source: Kongto Technology
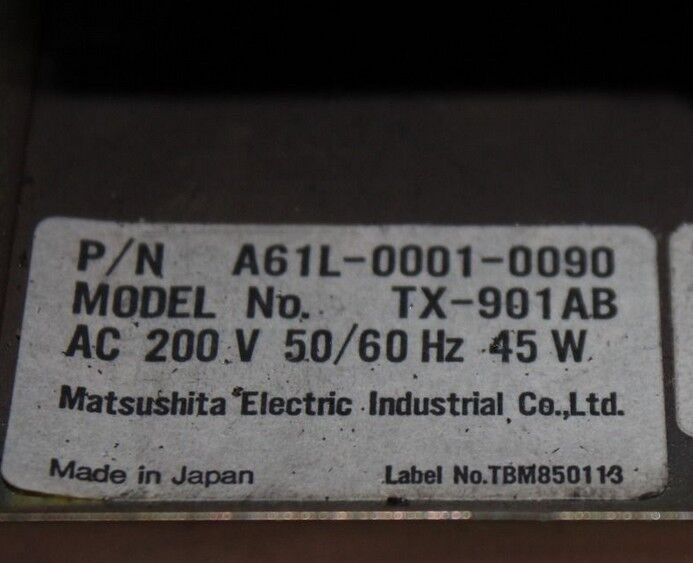
Model Identification | Source: Kongto Technology
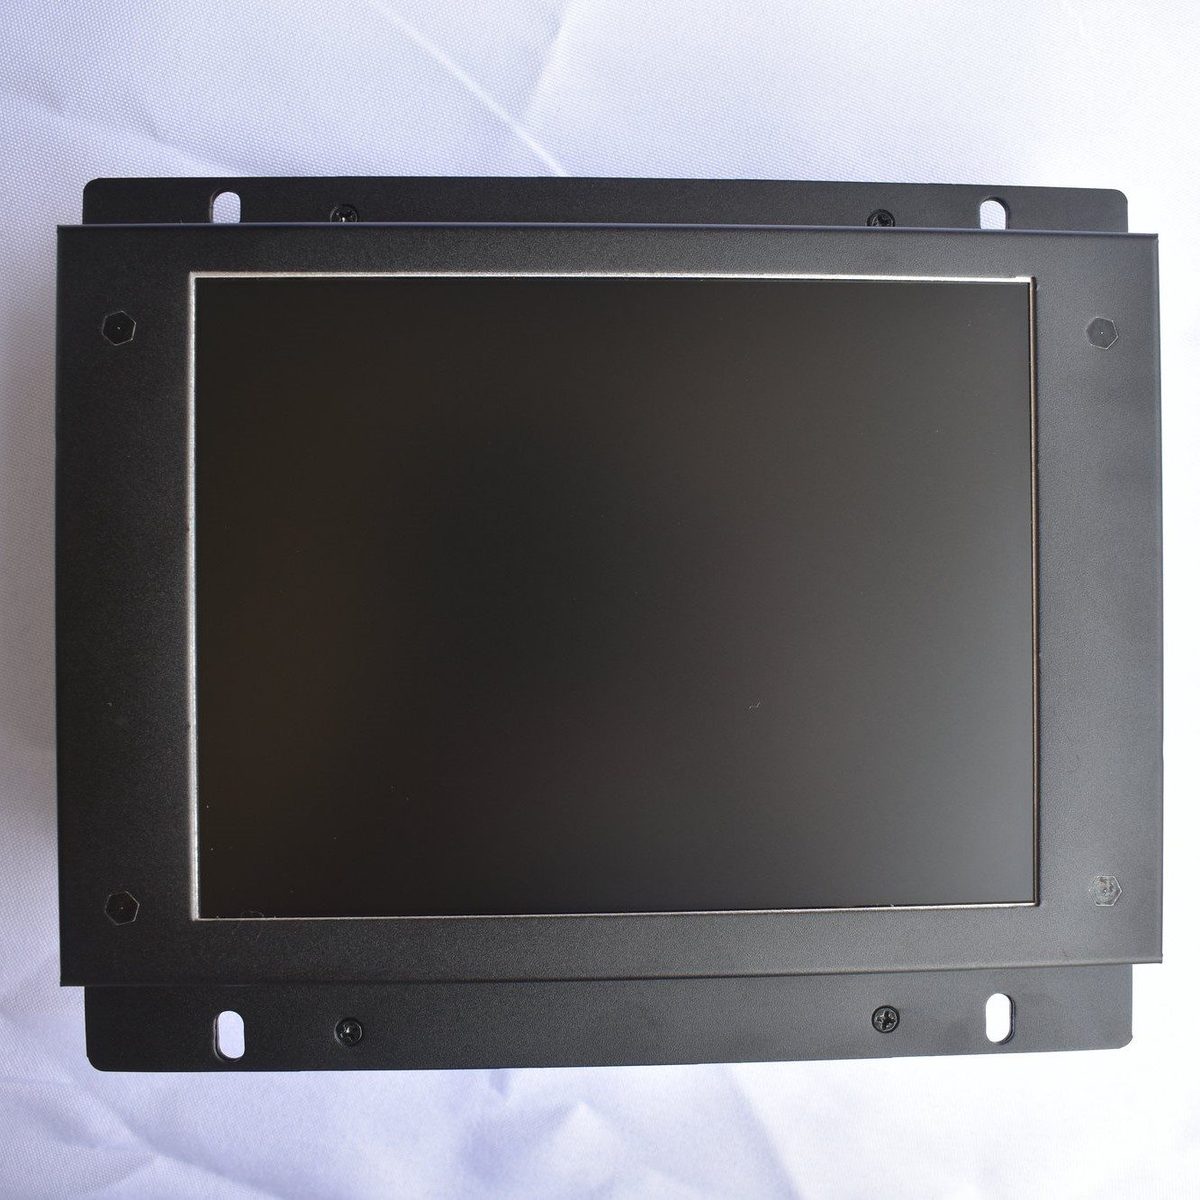
LCD Front View | Source: Kongto Technology
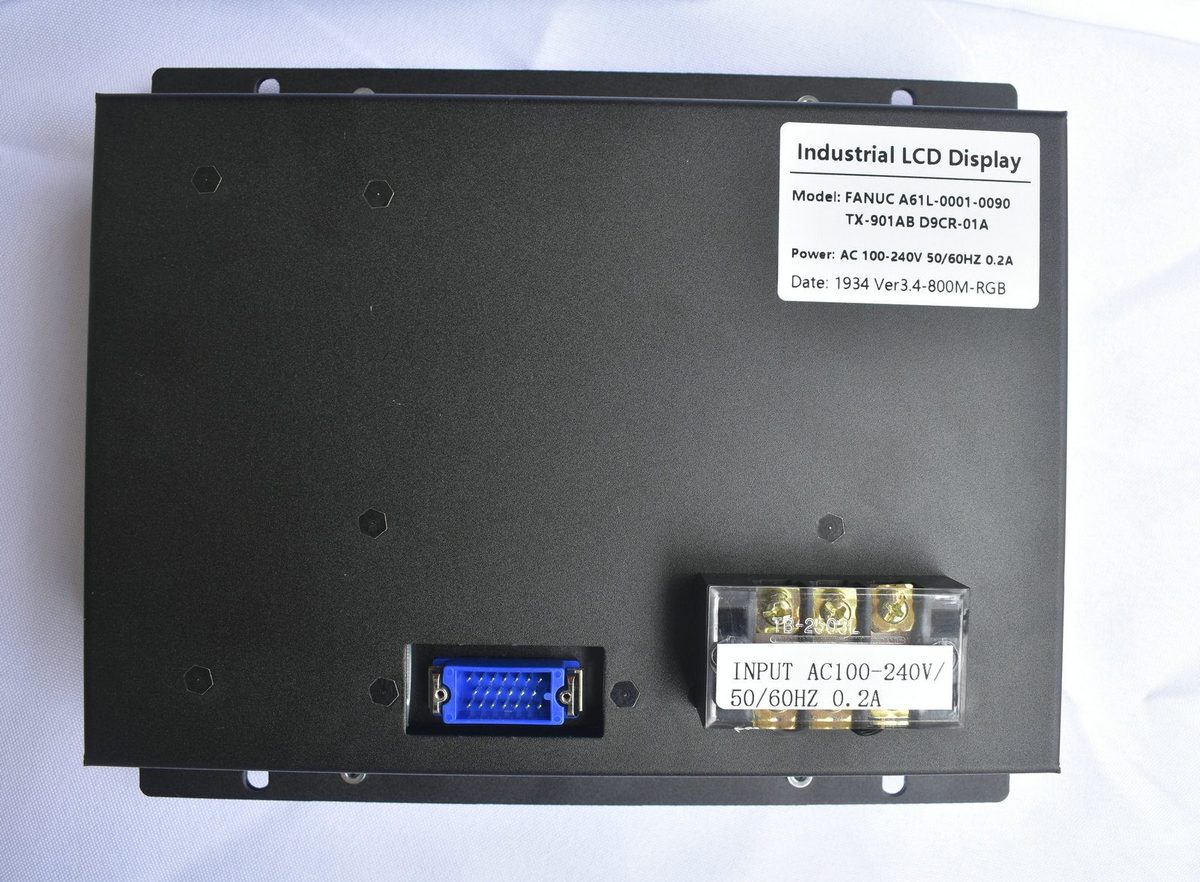
LCD Back View & Interface | Source: Kongto Technology
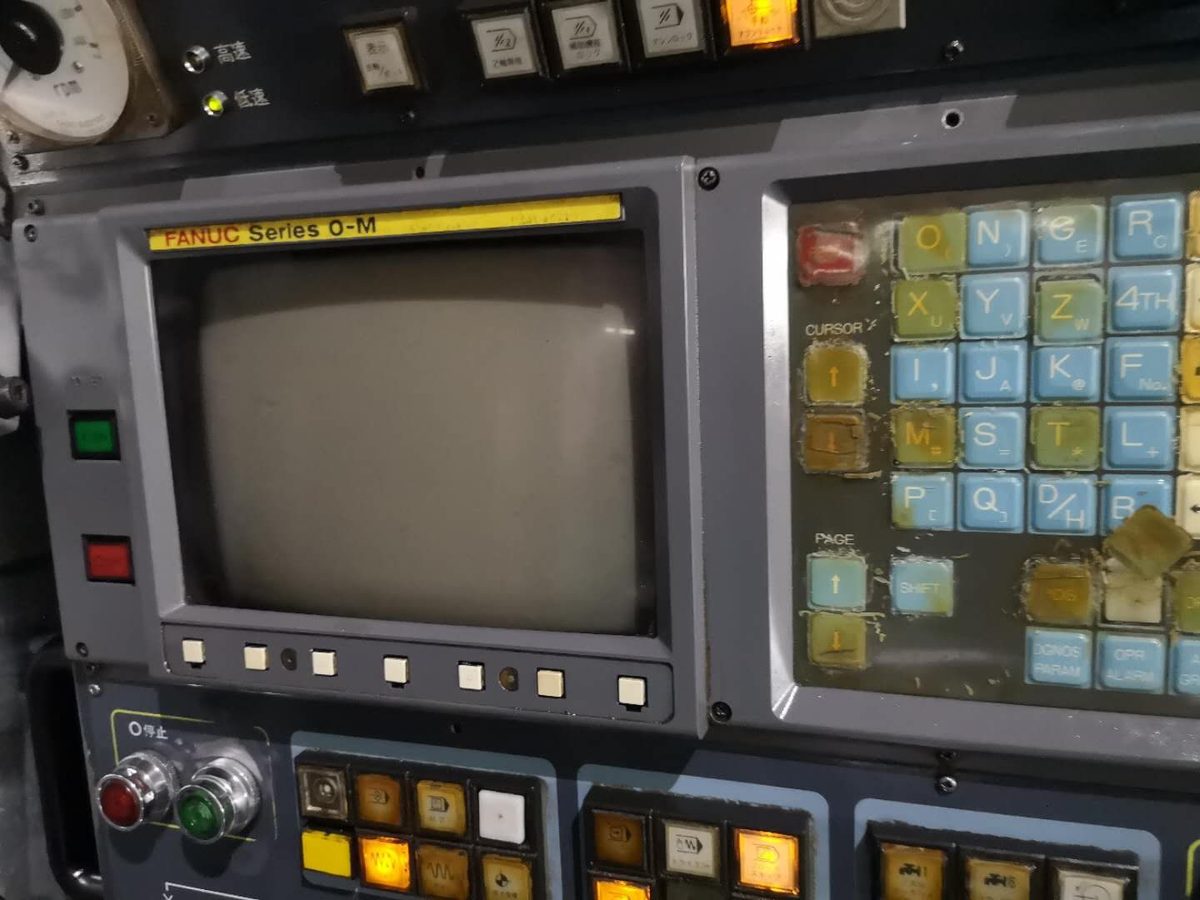
Note: A61L-0001-0090, TX-901AB, and 9CR-01AF refer to the same CRT display unit under different naming systems used by FANUC and its OEM partners. These models are interchangeable and share identical specifications, interfaces, and mounting dimensions.
Overview
The FANUC A61L-0001-0090 is a 9-inch monochrome CRT display originally designed for FANUC 0i/16i/18i series CNC systems. As these CRT displays age, they suffer from reduced brightness, flickering, and eventual failure. With original parts discontinued, LCD retrofit kits provide a cost-effective and reliable upgrade solution.
Product Specifications
- Model: A61L-0001-0090
- Type: 8-inch TFT-LCD (replaces CRT)
- Interface: HONDA 20-pin signal connector
- Power: DC 24V (compatible with original CRT power supply)
- Compatibility: FANUC 0i/16i/18i series CNC systems
- Mounting: Identical dimensions to original CRT for direct replacement
Why Retrofit?
CRT displays have a typical lifespan of 15-20 years. As they age, you may experience:
- Reduced brightness and contrast
- Flickering or image distortion
- Complete failure due to cathode ray tube wear
- Difficulty obtaining replacement parts (discontinued by manufacturer)
LCD retrofit kits solve these problems by replacing the aging CRT with modern LCD technology while maintaining 100% compatibility with your existing CNC system.
Installation Guide
Step 1: Safety Preparation
Power down the CNC system and disconnect the main power supply. Wait 5 minutes for capacitors to discharge. Verify no voltage present before proceeding.
Step 2: Remove Existing CRT
Carefully disconnect the HONDA 20-pin signal cable and power connector from the back of the CRT. Remove mounting screws and slide out the CRT unit from the control cabinet.
Step 3: Install LCD Kit
Position the LCD panel using the same mounting points as the original CRT. The A61L-0001-0090 LCD kit is designed with identical dimensions - it's a direct drop-in replacement requiring no modifications to the cabinet.
Step 4: Connect Cables
Connect the HONDA 20-pin signal cable to the LCD interface. Connect the DC 24V power cable. Verify all connections are secure before powering on.
Step 5: Test and Verify
Restore power and boot the CNC system. Verify the display shows clear, stable images. Check all display functions including text, graphics, and alarm messages.
Key Advantages
- Direct Replacement: Same mounting dimensions as original CRT - no drilling or modifications required
- 100% Compatible: HONDA 20-pin interface matches original CRT specification
- Industrial Grade: Designed for 24/7 operation in harsh industrial environments
- Long Lifespan: LCD technology rated for 50,000+ hours (vs. 15-20 years for CRT)
- Warranty: 2-year warranty included
Technical Support
For installation support or technical inquiries, contact us:
Email: [email protected]
Phone: +86-13686889647
Address: Shenzhen, China