FANUC A02B-0094-C022 CRT/MDI to LCD Replacement - Complete CRT to LCD Upgrade Guide
Model: A02B-0094-C022-LCD | Compatibility: FANUC 0, 0i-A/B/C/D, 16i, 18i Series | Reading time: 8 min
Overview
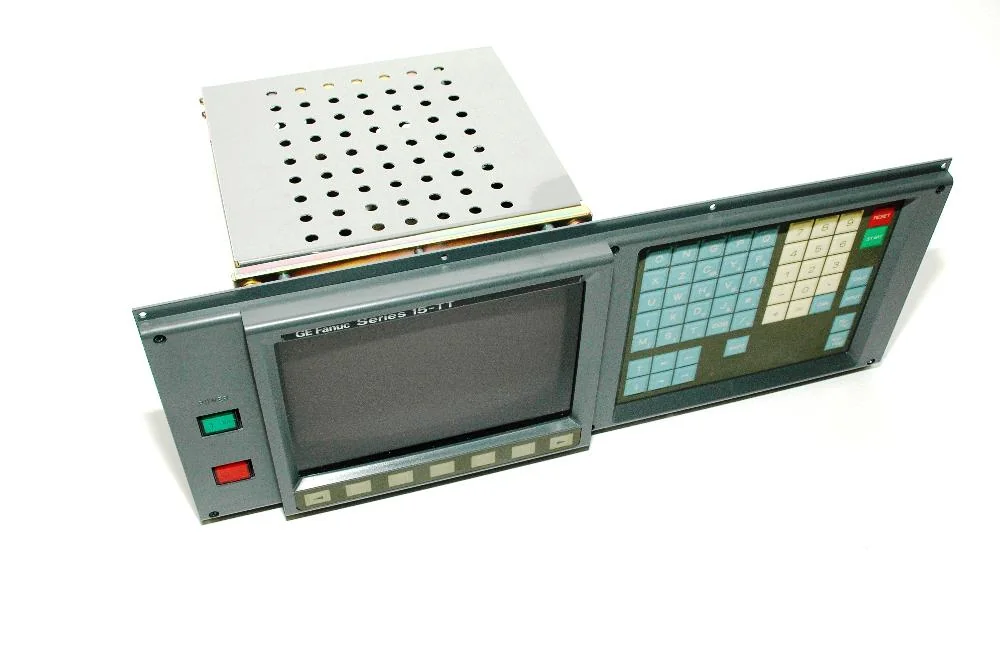
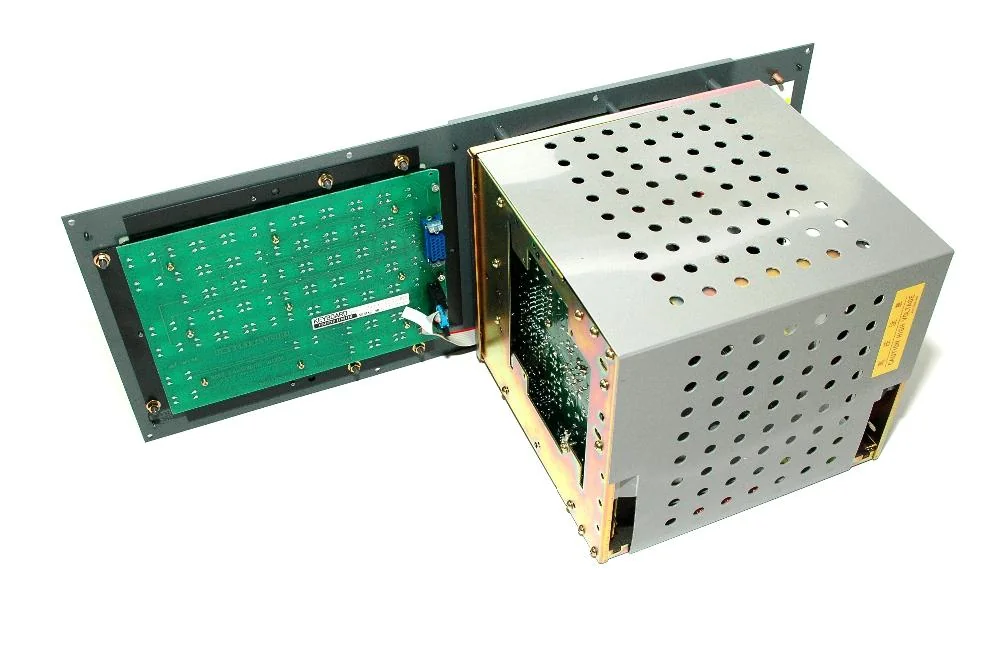
The FANUC A02B-0094-C022 is a combined CRT display and MDI (Manual Data Input) keyboard unit used on FANUC 0-series, 0i-series, 16i, and 18i CNC controls. This integrated unit houses both the 14-inch color CRT monitor and the operator data entry keypad in a single chassis.
Original CRT Display
The original CRT display in the A02B-0094-C022-LCD is a 14-inch color CRT unit with Honda MR-20M 20-pin / MDI parallel interface. Key characteristics of the original CRT include:
- Resolution: 640x400 or 640x480 pixels
- Brightness: Approximately 200 cd/m² (degrades over time)
- Lifespan: 15,000-20,000 hours typical
- Power: AC 100-240V, approximately 40-60W
- Signal: TTL-level RGB via Honda MR-20M 20-pin / MDI parallel
Common Failure Modes
After 15-25 years of service, the A02B-0094-C022-LCD CRT display will exhibit one or more of these failure modes:
| Symptom | Root Cause | LCD Upgrade |
|---|---|---|
| Blank screen / no display | Flyback transformer failure (most common) | Permanent fix |
| Dim / unreadable display | CRT phosphor wear, electron gun aging | Permanent fix |
| Flickering / rolling image | Capacitor failure in sync circuits | Permanent fix |
| No power / dead unit | Internal power supply failure | Permanent fix |
LCD Replacement Solution
As CRT components age, the display section of the A02B-0094-C022 commonly experiences flyback transformer failure (causing blank screen or no power), phosphor wear (dim/unreadable display), and capacitor degradation (image flicker or geometry distortion). Our LCD replacement module retains the original MDI keyboard functionality while replacing the CRT display section with a modern industrial TFT-LCD panel. The replacement is a direct fit — same mounting holes, same connector interface, same AC 100-240V mains supply.
Specification Comparison
| Spec | Original CRT | Kongto LCD |
|---|---|---|
| Display Type | CRT | TFT-LCD Industrial |
| Resolution | 640x400 | 800x600 |
| Brightness | ~200 cd/m² | 350-450 cd/m² |
| Lifespan | 15,000 hrs | 50,000+ hrs |
| Power Consumption | 40-60W | ~12W |
| Installation | N/A | 15-30 min, plug-and-play |
| Warranty | Obsolete | 2-Year Warranty |
Installation Guide
- Power off the CNC machine and lockout/tagout per safety procedures
- Remove CRT housing: Unscrew the 4 mounting screws, disconnect signal and power cables
- Mount LCD module: Position the LCD module in the same opening, secure with original screws
- Connect cables: Plug the original signal cable into the LCD module port, reconnect the AC 100-240V supply
- Power on and test: Restore power. The LCD will display automatically. Adjust brightness/contrast using OSD buttons if needed
Note: No CNC parameter changes, no wiring modifications, no special tools required. Total installation time: 15-30 minutes.
Ordering Information
Price: $$499 USD | Stock: In Stock | Warranty: 2 Years
Contact: [email protected] | +86-13686889647 | Request Quote