FANUC A61L-0001-0094 14-inch CRT to LCD Retrofit Guide | Kongto
1. Overview
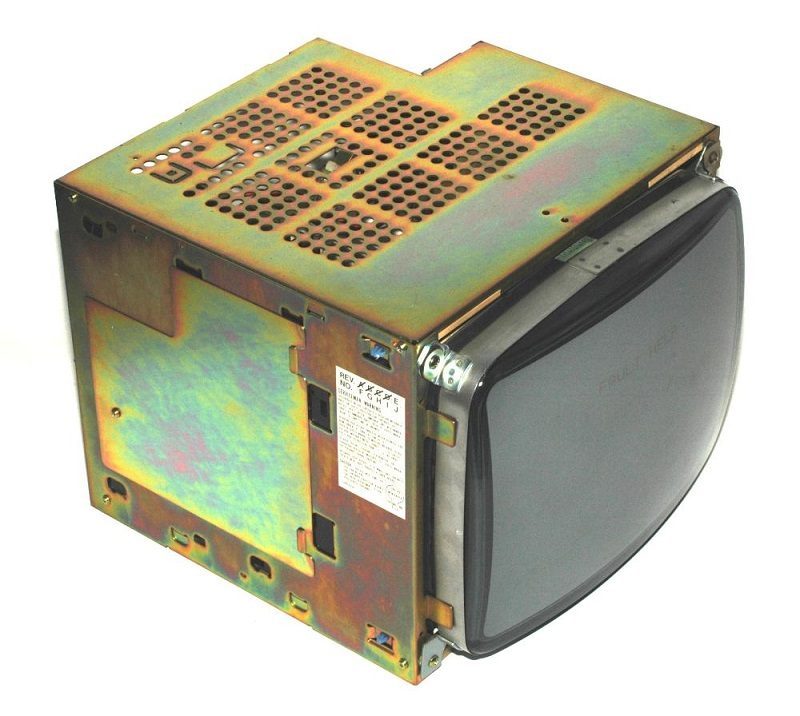
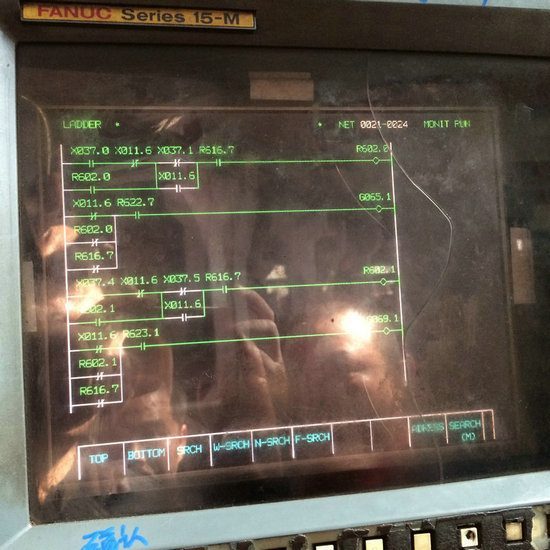
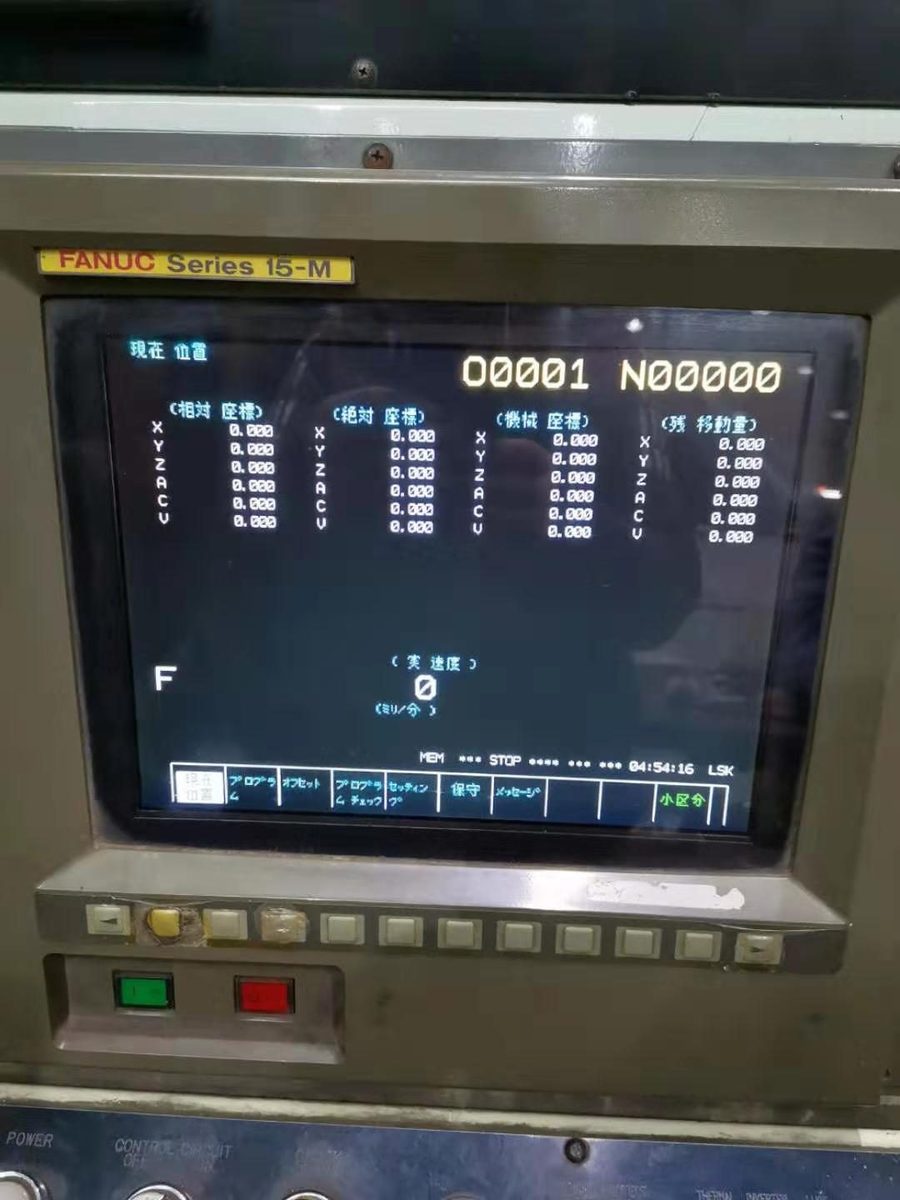
The FANUC A61L-0001-0094 is a widely deployed 14-inch color CRT display in legacy FANUC 0i, 16i, 18i and 21i series CNC systems. After years of industrial operation these CRT units develop brightness decay, color shift, flicker, focus blur and eventually complete failure. This guide documents a complete retrofit that replaces the obsolete color CRT with an industrial-grade TFT-LCD module — a direct, plug-and-play swap with no modification to the CNC control.
2. Original CRT Specifications and Failure Modes
2.1 Core Specifications (Original CRT)
| Parameter | Specification |
|---|---|
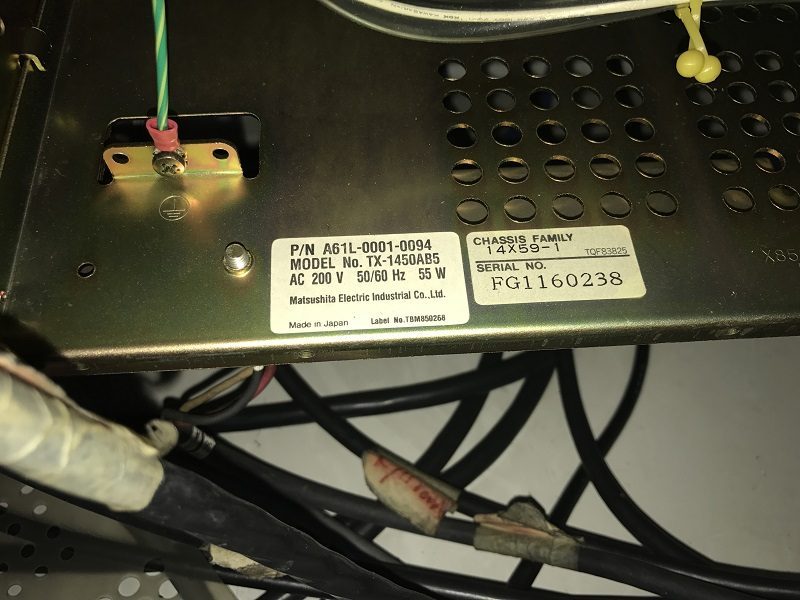
| Model | A61L-0001-0094 (original panel label TX-1450) |
| Display Type | 14-inch Color CRT (Cathode Ray Tube) |
| Native Resolution | 640×480 pixels |
| Color Depth | 16 colors / 8 colors (system-dependent) |
| Brightness | ~200 cd/m² (decaying with age) |
| Interface | 20-pin Honda MR-20M signal connector |
| Power Input | AC 100-240V (from the machine mains supply) |
| Safety | High voltage internal circuit (10-15kV) |
| Typical Service Life | ~15,000 operating hours |
2.2 Common Aging Failures
- Progressive Brightness Reduction: CRT phosphor and cathode aging cause continuous brightness decay, poor daytime visibility and operator eye strain.
- Color Cast and Permanent Color Shift: RGB gun aging imbalance drifts color temperature (red looks orange, blue looks purple), which hides G-code syntax highlighting and alarm colors.
- Intermittent Flicker and Geometric Distortion: deflection coil and focus-circuit aging cause jitter, pincushion and trapezoid distortion, making program text hard to read.
- High-Voltage Insulation Degradation: years of 10-15kV operation age the flyback and socket insulation, risking arcing, high-voltage leakage and fire hazard.
- Complete Black-Screen Failure: cathode filament burnout or flyback failure disables the display entirely, forcing unplanned machine downtime.
- Obsolete Parts Supply: the CRT and its components are long discontinued; used pull-outs are scarce, costly and near end-of-life, so repairs get slower and pricier.
3. LCD Retrofit Solution and Technical Design
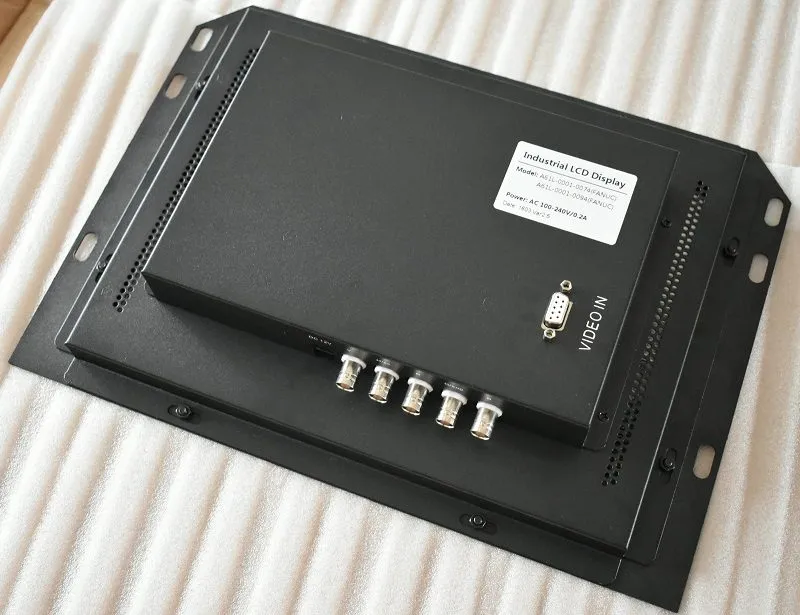
Kongto Technology builds the KTV148 series industrial LCD replacement module for the FANUC A61L-0001-0094 color CRT. The module uses an industrial TFT-LCD panel with LED backlight and is a direct drop-in replacement — same 20-pin Honda signal path, same AC 100-240V supply, same mounting points. No control parameter changes, adapters or rewiring are required.
3.1 LCD Replacement Module Specifications
| Parameter | Specification |
|---|---|
| Model | KTV148 (for A61L-0001-0094) |
| Display Type | 12.1-inch Industrial TFT-LCD |
| Resolution | 800×600 (accepts 640×480 input signals) |
| Brightness | 400 cd/m² |
| Interface | 20-pin Honda — direct compatible with original cable |
| Power Input | AC 100-240V using the original machine mains supply (no extra adapter) |
| Service Life | 50,000+ hours |
| Weight | 3.5 kg |
| Safety | Low-voltage DC design — no high-voltage hazard |
| Warranty | 2 years |
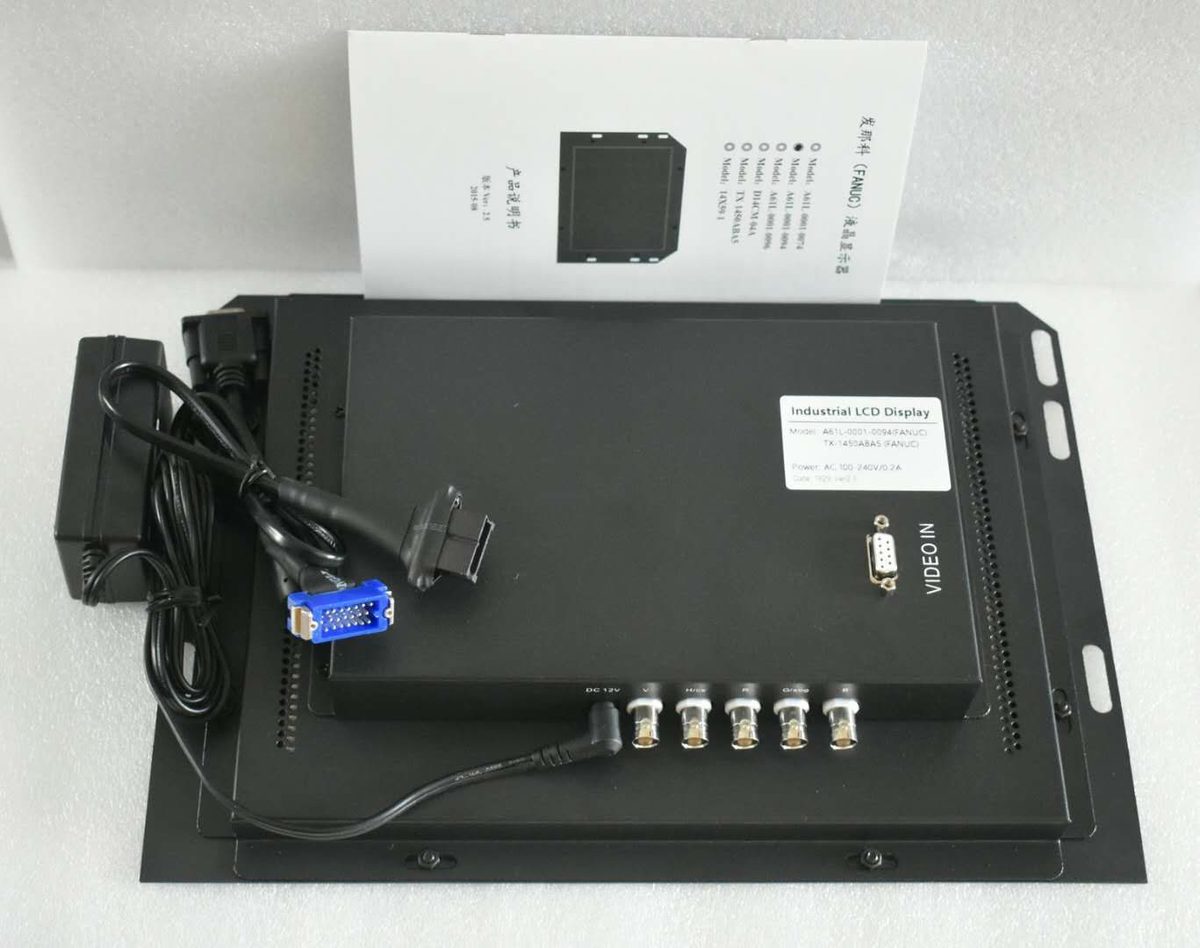
3.2 System Compatibility
The KTV148 kit for A61L-0001-0094 supports FANUC controls that use a 14-inch color CRT on the 20-pin Honda interface:
- FANUC 0 / 0i series
- FANUC 16i / 18i / 21i series
- Controls fitted with the A61L-0001-0094 14-inch color CRT on the 20-pin Honda interface
- Machining centers, lathes and grinders using this display
Model variants and setup details across the series are covered in the FANUC CRT-to-LCD Upgrade Complete Guide. For the sibling 14-inch model see the FANUC A61L-0001-0074 14-inch Retrofit Guide.
4. CRT vs. LCD Performance Comparison
| Parameter | Original CRT | Kongto Industrial LCD (KTV148) |
|---|---|---|
| Display Type | 14-inch Color CRT (Obsolete) | 12.1-inch Industrial TFT-LCD |
| Resolution | 640×480 | 800×600 (accepts 640×480) |
| Brightness | ~200 cd/m² (decaying) | 400 cd/m² (stable) |
| Service Life | ~15,000 hours | 50,000+ hours |
| Power Supply | AC 100-240V | AC 100-240V (original PSU) |
| Interface | 20-pin Honda MR-20M | 20-pin Honda (direct compatible) |
| Image Stability | Flicker and drift prone | Zero flicker, stable output |
| Safety | High voltage (10-15kV) | No high-voltage section |
| Weight | Bulky CRT assembly | 3.5 kg LCD module |
| Mounting | Original unit only | Drop-in, original holes, no modification |
| Maintenance | Periodic focus/brightness adjustment | Maintenance-free |
| Warranty | N/A (end of life) | 2 years |
5. Standard Installation Procedure (30-40 Minutes)
The KTV148 LCD module is mechanically and electrically compatible with the original A61L-0001-0094 CRT. No CNC parameter changes are needed. Expect 30-40 minutes for a careful first install.
5.1 Safety Preparation
- Shut down and disconnect the CNC main power. Ensure complete power isolation.
- Allow 8-10 minutes for internal capacitors to discharge before touching any connectors.
- Use an anti-static wrist strap to protect the LCD module electronics.
- Photograph the existing wiring and CRT orientation before disconnecting, for reference during reinstallation.
5.2 Original CRT Removal
- Disconnect the 20-pin Honda signal cable from the rear of the CRT (press the release latch, pull gently).
- Disconnect the AC supply cable from the CRT power connector.
- Remove the mounting screws securing the CRT bezel to the control cabinet.
- Lift the CRT assembly out with both hands — it is heavy and fragile, so never carry it by the signal cable or connector neck.
5.3 LCD Module Installation
- Unpack the KTV148 module and inspect for shipping damage. Confirm the model label targets A61L-0001-0094 compatibility.
- Position the module into the original CRT cut-out. It uses the factory mounting points.
- Align the mounting holes — the module is keyed and cannot be installed upside down. Seat it flush against the cabinet panel.
- Secure with the original screws. Snug is enough; overtightening distorts the front panel and affects uniformity.
5.4 Cable Connection
- Connect the original 20-pin Honda signal cable to the module. The connector is keyed — if it will not slide in, do not force it; reverse and retry.
- Connect the original AC supply cable to the module. It runs straight from the machine mains supply; no adapter or converter is needed.
- Confirm each connector is fully seated and any latch is engaged. Gently tug each cable to verify.
5.5 Power-On Test and Calibration
- Restore main power and start the CNC with the normal procedure.
- The module shows the CNC boot screen automatically — no mode selection is required.
- Check sharpness: text should be crisp across the full screen.
- Check color: G-code highlighting and alarm messages (red/yellow) should look correct.
- If needed, adjust brightness/contrast and screen position through the OSD (front-panel buttons). The auto-adjust function normally fixes positioning in under 10 seconds.
- Run the machine at least 30 minutes to confirm thermal stability and a stable image.
Important Notes:
- This retrofit needs no CNC parameter changes. The module is electrically and mechanically transparent to the control.
- Do not open the old CRT housing. It stores a dangerous high-voltage charge for hours after power-off.
- If the module shows nothing after install, reseat the 20-pin Honda connector first, then verify the AC 100-240V supply at the power connector.
6. Key Technical Advantages
- 1:1 Drop-In Fit: the KTV148 module uses the original cut-out, mounting holes and cables. No drilling, cutting or rewiring.
- Full Signal Compatibility: the 20-pin Honda interface matches the original CRT protocol, so the module locks onto the existing video signal automatically.
- Brighter, Sharper Image: 400 cd/m² and 800×600 (vs. ~200 cd/m² and 640×480 for the aging CRT) keep text readable under workshop lighting and crane aisles.
- No High-Voltage Hazard: the LCD has no high-voltage section, eliminating the 10-15kV CRT risk during service.
- Long Life, Less Downtime: 50,000+ hours vs. ~15,000 hours for the CRT cuts unplanned display failures on 24/7 production lines.
- Factory-Direct Price: $299 with 2-year warranty, versus US$799-849 for comparable 12.1-inch kits from North-American resellers. See the market-price table on our A61L-0001-0094 product page.
7. Operation and Maintenance Guidelines
7.1 Periodic Inspection (Every 6 Months)
- Inspect the 20-pin Honda cable for looseness, oxidation or bent pins; reseat if needed.
- Check the AC supply connection and measure the voltage at the connector under load.
- Clean the front panel with a soft, lint-free cloth lightly dampened with 70%+ isopropyl alcohol. Do not use ammonia cleaners — they strip the anti-glare coating.
- Confirm the OSD still opens and brightness/contrast have not drifted.
7.2 Long-Term Storage and Backup
- If the original CRT still works, keep it as a temporary backup in a dry room (15-25°C, below 60% RH).
- Spare KTV148 modules store without degradation for years; rotate stock if you keep several.
7.3 Troubleshooting Guide
| Symptom | Possible Cause | Corrective Action |
|---|---|---|
| No display after install | 20-pin connector not seated; no supply power | Reseat connectors; verify the supply voltage at the power connector |
| Shifted image or black border | Screen position out of range | Adjust position via OSD (auto-adjust available) |
| Flicker or unstable image | Timing/phase mismatch | Adjust phase and clock in the OSD |
| Wrong colors (e.g. red tint) | Bent signal pin; OSD color temperature changed | Inspect cable; reset OSD to factory defaults |
| Module runs hot | Poor cabinet ventilation; ambient over +60°C | Improve ventilation; keep within operating range |
8. Warranty and Technical Support
8.1 Warranty Terms
| Item | Coverage |
|---|---|
| Standard Warranty | 2 years from the date of purchase |
| Scope | Manufacturing defects, component failure under normal use, backlight failure, image-quality degradation |
| Exclusions | Physical damage from mishandling, liquid ingress, unauthorized modification, supply voltage outside 21-27V DC |
| Repair or Replace | Kongto repairs or replaces the defective unit; in-stock swaps ship same-day or next-day |
8.2 Technical Support Services
- Lifetime Free Consultation: phone, email and remote-desktop support for the life of the product.
- Install Documentation: HD installation video and downloadable PDF guide included.
- Remote Diagnosis: engineers connect via TeamViewer / AnyDesk / WeChat to resolve issues.
- On-Site Support (Optional): available for large retrofits (10+ machines); travel costs borne by customer.
8.3 Supply and Lead Time
- In Stock: KTV148 modules ship same-day when ordered before 12:00 (GMT+8).
- International: DHL / FedEx / UPS, 3-5 business days; export paperwork handled for you.
- OEM / Bulk: 100+ units — custom label, packaging and minor hardware changes on request (2-3 weeks).
Contact Us
Kongto Technology Co., Ltd. — specialist in industrial display retrofit since 2011, with 500+ FANUC CRT-to-LCD conversions completed.
- Email: [email protected]
- Phone / WeChat: +86-13686889647
- Website: cncdisplay.com
- Address: Shenzhen, Guangdong, China
- Hours: Monday-Friday 09:00-18:00 (GMT+8)