FANUC A61L-0001-0095 9-inch CRT to LCD Replacement Guide | Kongto
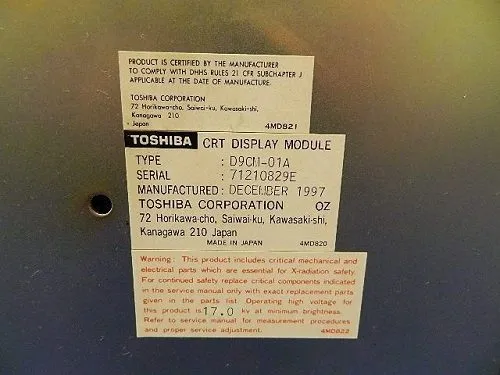
Original CRT Display | Source: Kongto Technology
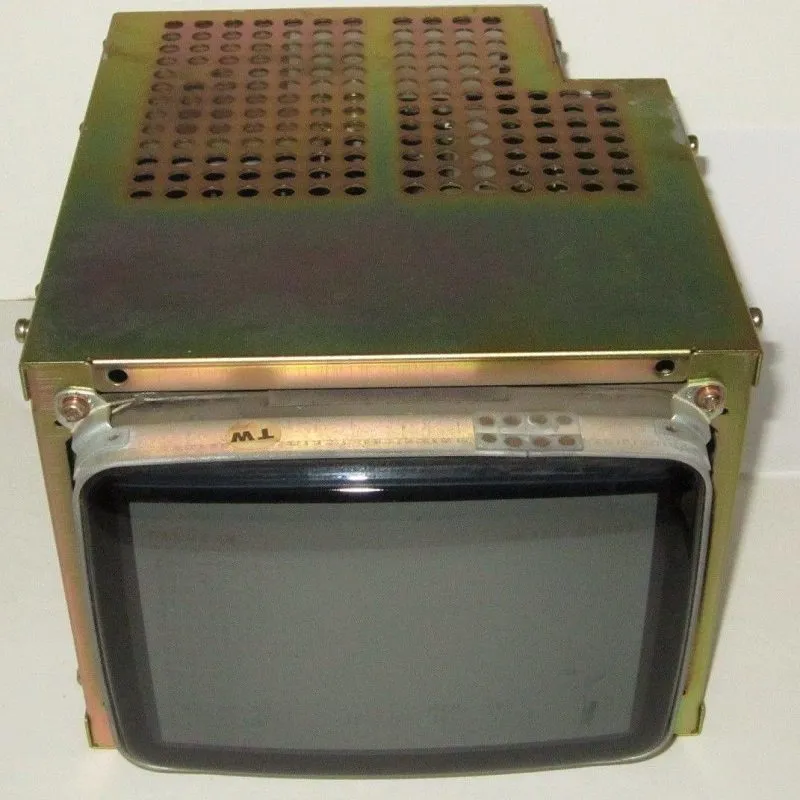
Model Identification | Source: Kongto Technology
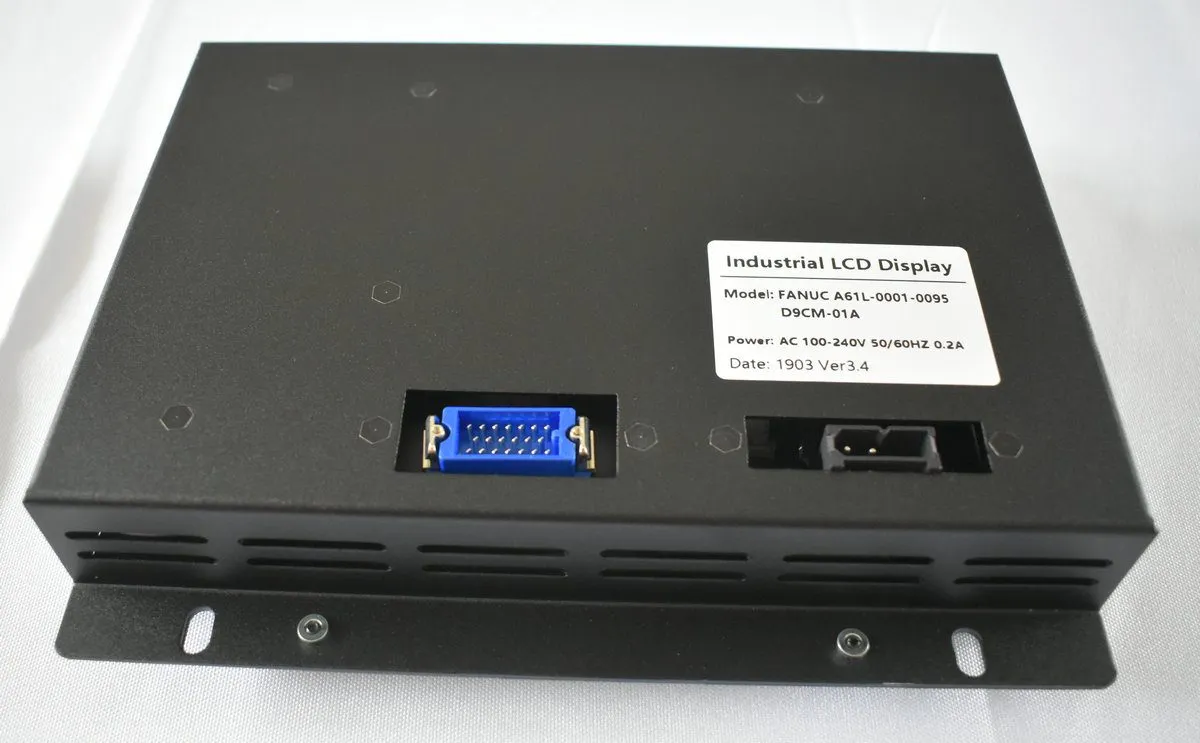
LCD Back View: HONDA 20-Pin Connector and AC 100-240V Nameplate | Source: Kongto Technology
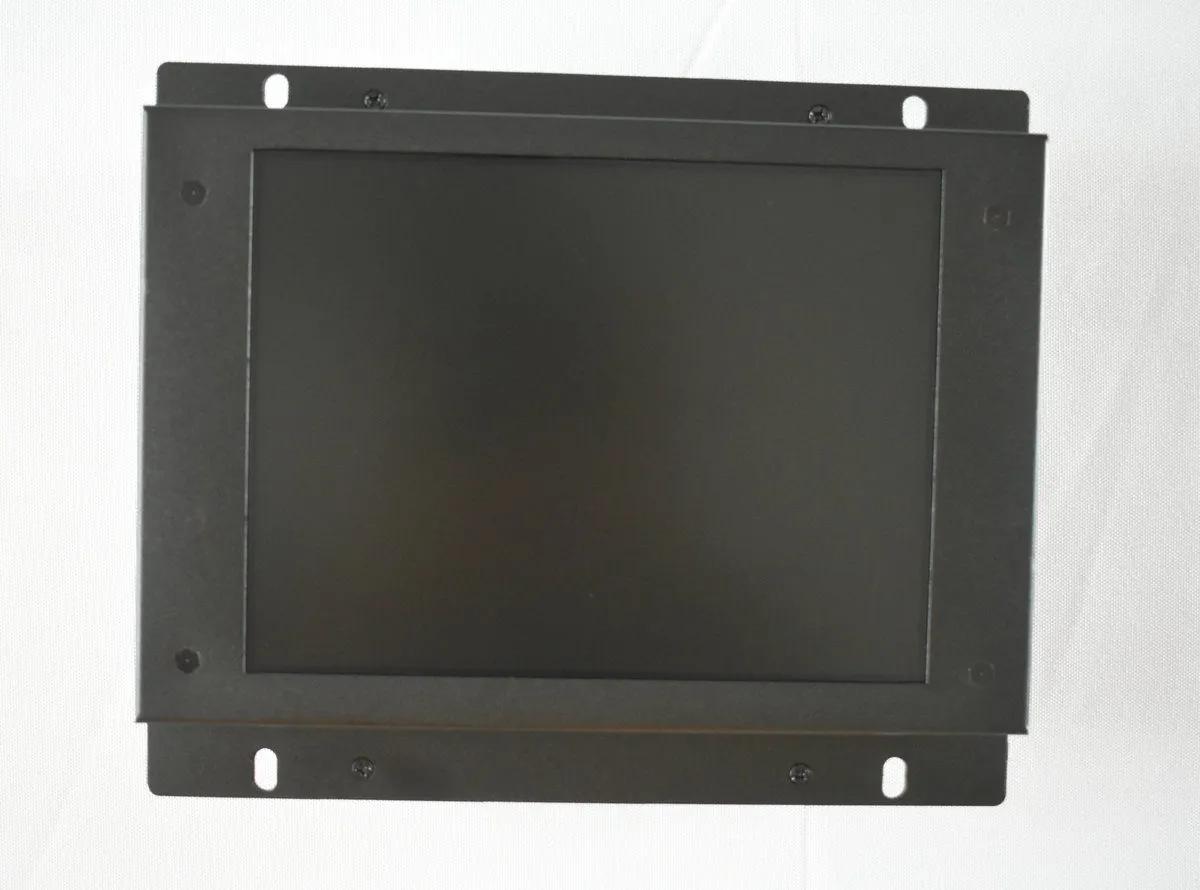
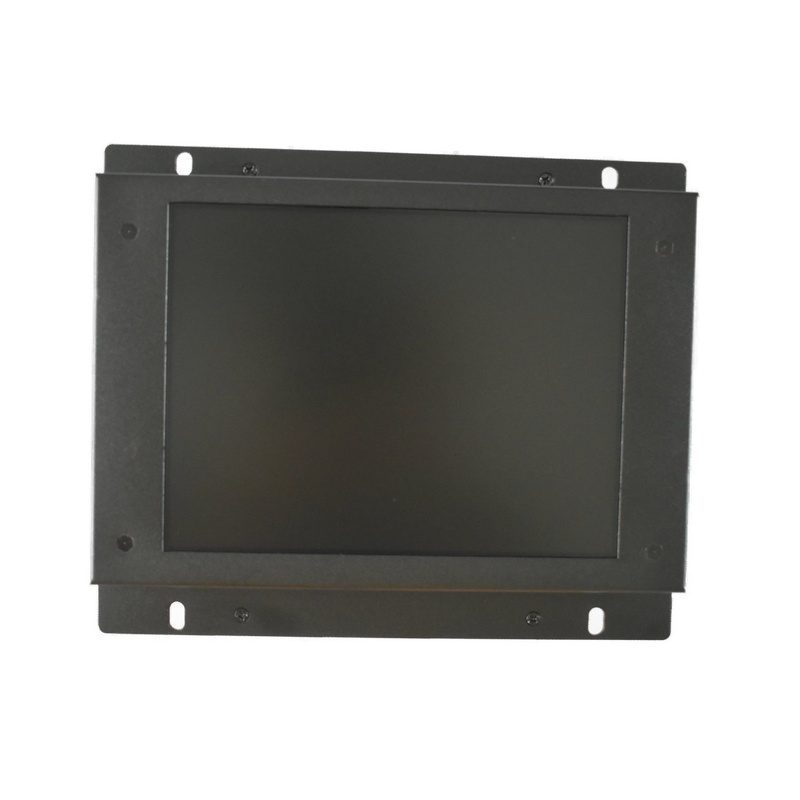
LCD Front View | Source: Kongto Technology
Product Overview
The FANUC A61L-0001-0095 is a 9-inch color CRT display originally used in FANUC CNC systems. As these CRT displays age, they suffer from brightness loss, flickering, and eventual failure. Our LCD replacement kit provides a cost-effective, reliable solution with modern LCD technology while maintaining 100% compatibility.
Key Specifications
- Model: A61L-0001-0095
- Type: 8-inch TFT-LCD (replaces 9-inch color CRT)
- Display: Color
- Interface: HONDA 20-pin connector, native drop-in (no adapter cable)
- Power: AC 100-240V 50/60Hz, reuses the original power plug
- Compatibility: FANUC Series 0 / 0-Mate / 0-TMate, 0i-A/B/C/D, 16i / 18i / 21i
- Mounting: Identical to original CRT dimensions
Why Replace Your CRT?
Color CRT displays have a typical lifespan of 15-20 years. Common issues include:
- Reduced brightness and contrast (harder to read in bright workshops)
- Flickering or image distortion
- Complete failure due to cathode ray tube wear
- Difficulty obtaining replacement parts (discontinued by manufacturer)
- High energy consumption compared to LCD
LCD technology solves these problems by providing stable, glare-free color display with a lifespan of 50,000+ hours.
Installation Guide
Step 1: Safety Preparation
Power down the CNC system and disconnect the main power supply. Wait 5 minutes for capacitors to discharge completely. Verify no voltage present before proceeding. Wear anti-static wrist strap when handling electronic components.
Step 2: Remove Existing CRT
Carefully disconnect the HONDA 20-pin signal cable and power connector from the back of the CRT. Remove mounting screws (typically 4-6 screws) and gently slide the CRT unit out of the control cabinet. Be careful not to damage the CRT glass.
Step 3: Prepare LCD Kit
Unpack the A61L-0001-0095 LCD kit and verify all components are present: LCD panel, mounting brackets, cables, and installation manual. Check the LCD panel for any shipping damage. Confirm the HONDA 20-pin connector is intact.
Step 4: Install LCD Panel
Position the 8-inch TFT-LCD panel using the same mounting points as the original 9-inch CRT. The A61L-0001-0095 is designed with identical dimensions - it's a direct drop-in replacement requiring no modifications to the cabinet or mounting holes.
Step 5: Connect Cables
Connect the HONDA 20-pin signal cable to the LCD interface. Plug the power lead into the original AC connector. Ensure all connections are secure and properly seated. The module accepts AC 100-240V directly through the original power plug, so no external power adapter is needed.
Step 6: Test and Verify
Restore power and boot the CNC system. Verify the display shows clear, stable color images. Check all display functions including:
- Text display clarity (letters, numbers, G-codes)
- Graphics and tool path display
- Alarm messages and diagnostics (should display clearly in color)
- Menu navigation and parameter settings
- Backlight uniformity across the entire screen
Key Advantages
- Direct Replacement: Same mounting dimensions as original 9-inch CRT - no drilling or modifications required
- 100% Compatible: HONDA 20-pin interface matches original CRT specification
- Color Clarity: Sharp, glare-free display with adjustable brightness
- Industrial Grade: Designed for 24/7 operation in harsh industrial environments (dust, vibration, temperature fluctuations)
- Long Lifespan: LCD technology rated for 50,000+ hours (equivalent to 15+ years of normal use)
- Energy Efficient: Consumes 60% less power than CRT (reduced heat generation)
- Warranty: 2-year warranty included
Professional Tips
- Take photos of the original wiring before disconnecting for reference
- Label all cables during removal to ensure correct reconnection
- Test the display for at least 30 minutes before closing the cabinet
- Keep the original CRT as a spare or for future reference
- Clean the LCD screen with isopropyl alcohol and lint-free cloth only
- Adjust brightness and contrast settings after installation for optimal readability
Technical Support
For replacement support or technical inquiries, contact us:
Email: [email protected]
Phone: +86-13686889647
Address: Shenzhen, China
Business Hours: Monday-Friday 9:00-18:00 (GMT+8)